
Grow with us - 8
Sprouts & microgreens
a guide for easy home growing
compiled by Rosa van Giessen, from teaching materials by Ann Doherty & Eva Thomassen
Sprouts & microgreens are a perfect way to grow something even though you are limited in space, or by the seasons. All you need is your kitchen counter and a windowsill!
Sprouts are small sprouted seeds; you eat them whole just after they have sprouted. Microgreens are harvested babygreens that grow a little bigger, but the basic principle of both is that you always eat them while they are still cute and tiny. Both are incredibly dense in vitamins and minerals, because each seed already contains the building blocks of the entire plant. That is why they are so healthy. Depending on the sprout, the nutrient content can increase up to 30 times!
They are not just healthy, they are also so much fun to grow. And they make your food look great; get creative and use them (uncooked!) in salads, on pasta or rice dishes, in your sandwiches...
It’s a perfect way to grow something even though you are limited in space, and so much cheaper than buying sprouts from the supermarket. All you need is your kitchen counter and a windowsill!
SPROUTS
Which seeds can you sprout?
Many vegetable seeds are edible as sprouts but careful, some of them are not. The tomato family for example. Seeds that are specifically sold as sprouting seeds may have the most succes, but in a lot of cases you can just buy seeds in the supermarket that are meant for consumption and will still sprout. In that case it is important that they are organic, as non-organic seeds and legumes may have been treated in fact to prevent them from sprouting and could carry pesticides.
Examples to use are dried peas, mung beans and fenugreek seeds. Different seeds can have different sprouting schedules, if you make a mix check this as well as their recommmended soaking time.
Most organic supermarkets also sell seeds that are specifically meant for sprouting, like the sprouting seeds from ‘De peuleschil’ and ‘De bolster’ seed company.
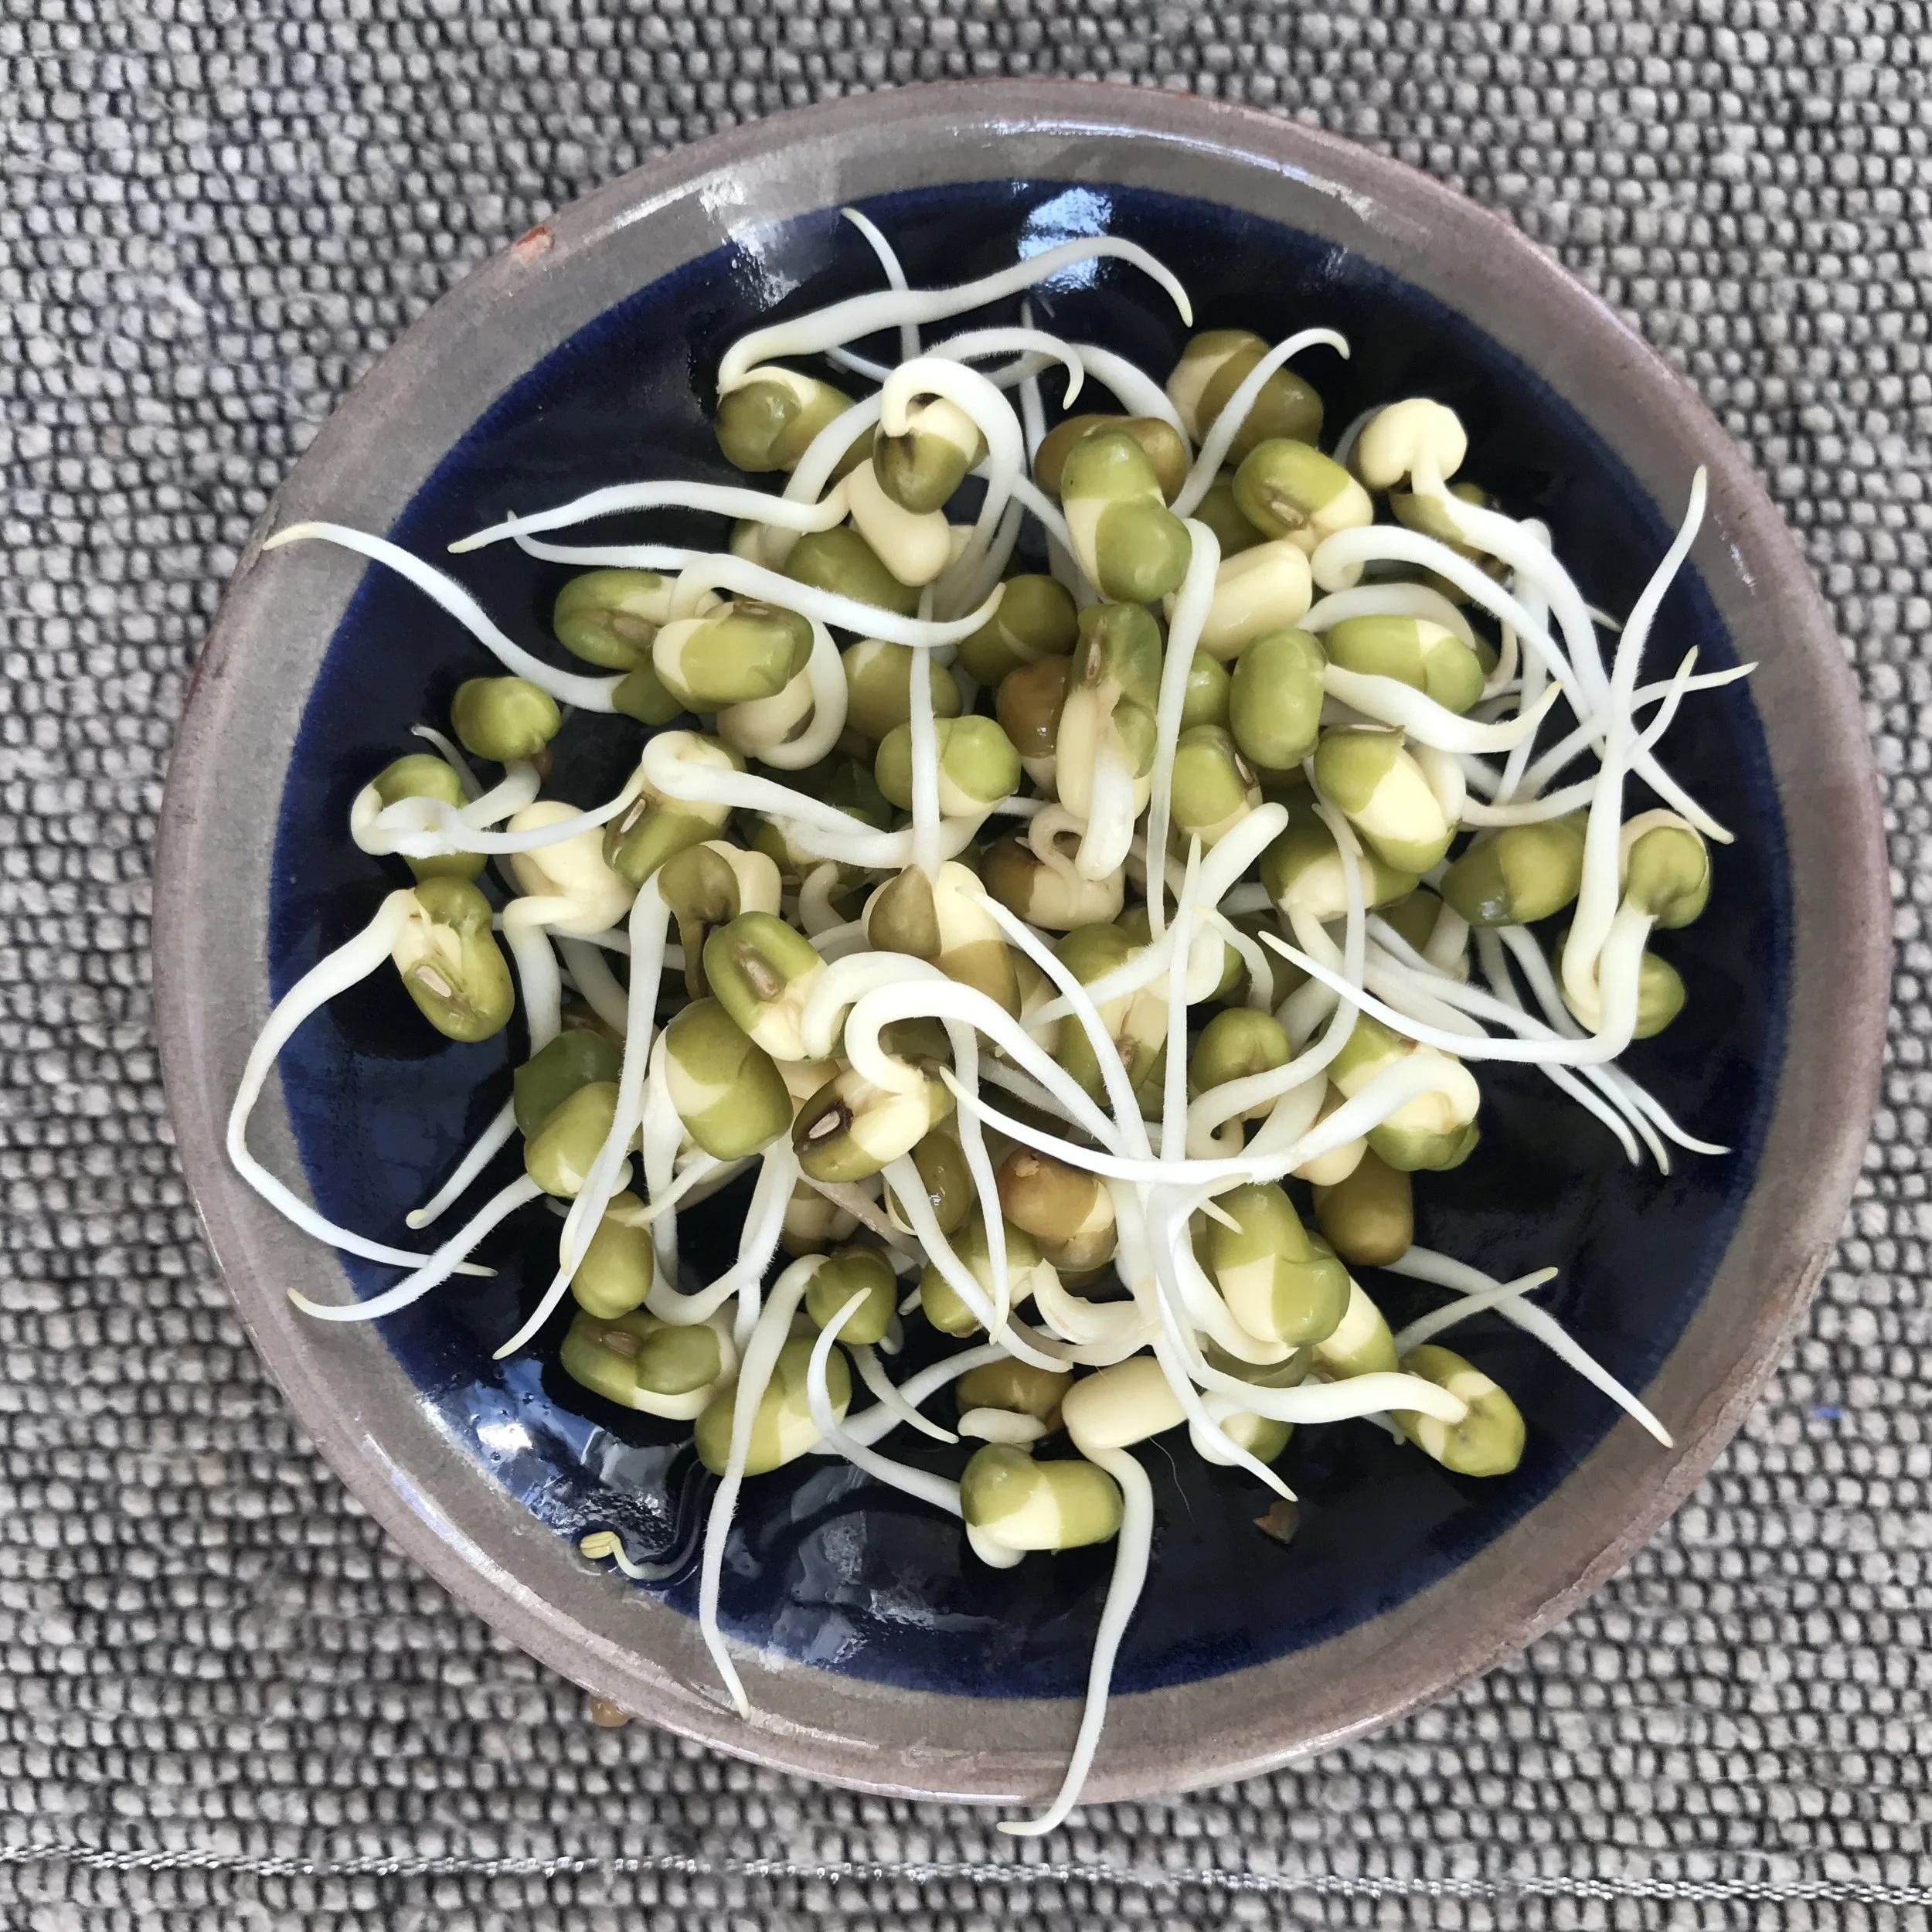
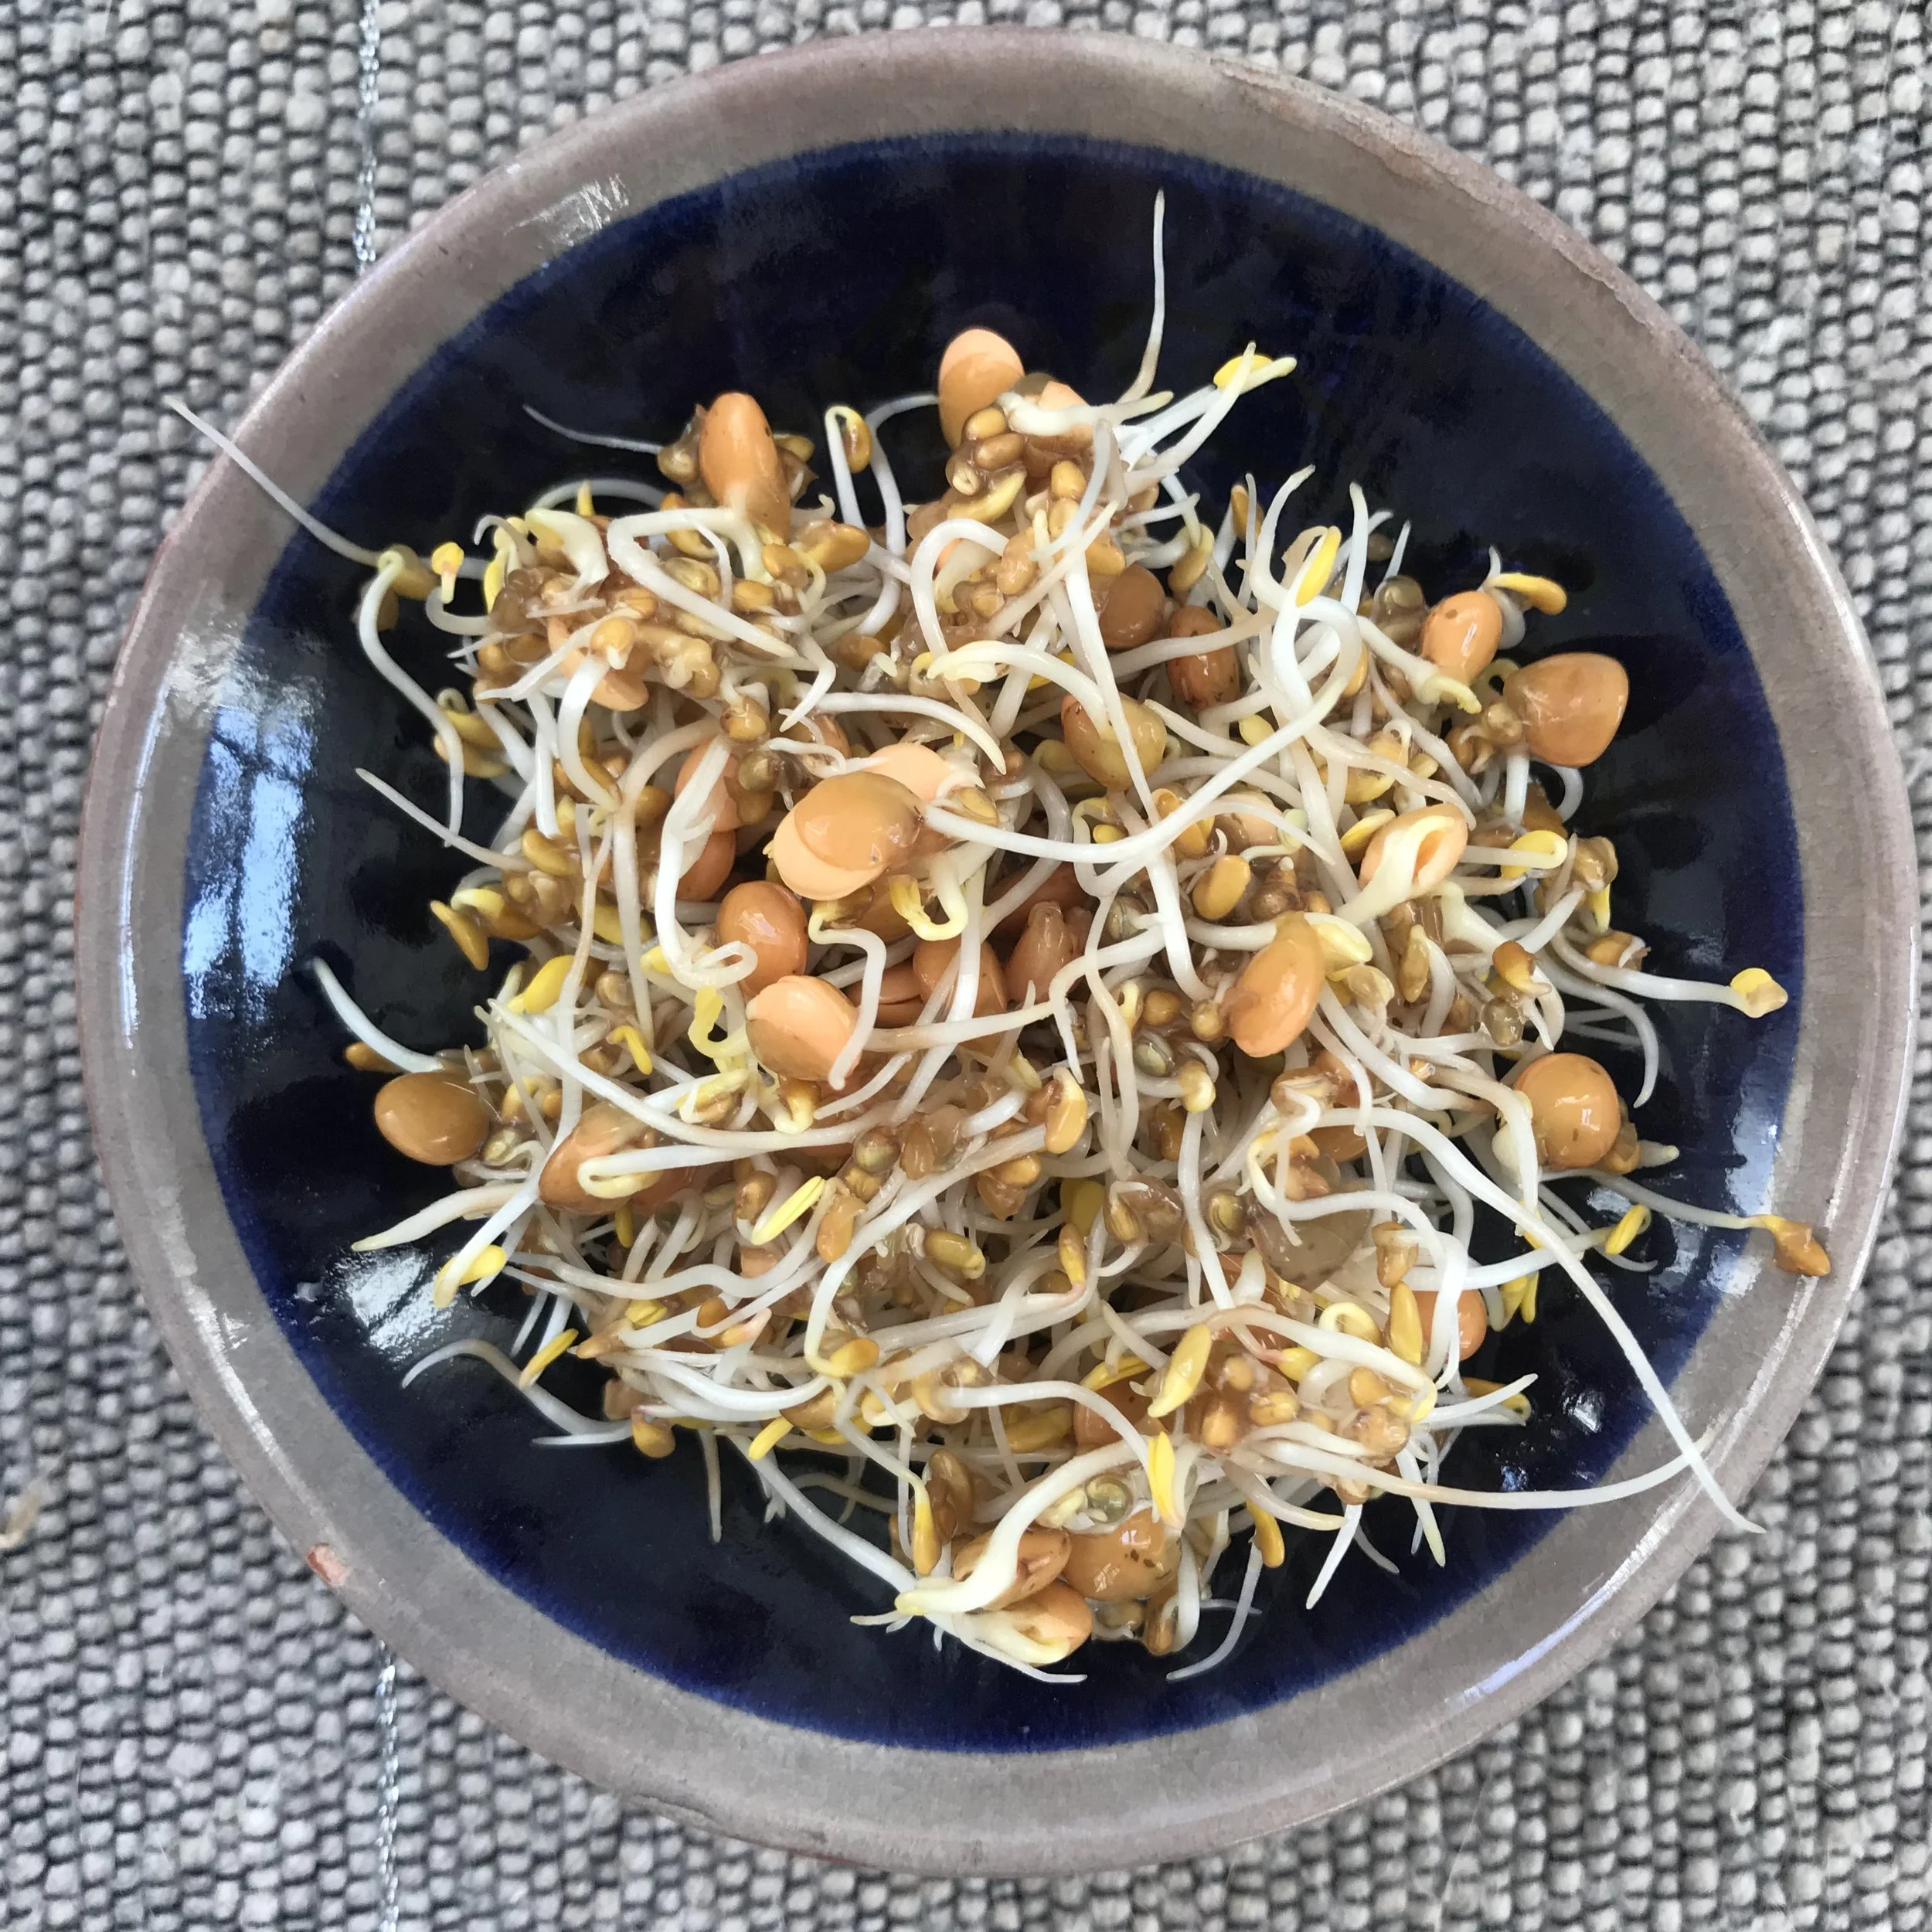
Some of our favorites are: mung beans (taugé), fenugreek seeds (mix some through your mung beans), lentils (use whole ones, split ones will not work), alfalfa, pumpkin seeds, radish seeds
You can also sprout nuts, grains or even onion seeds. Do some research before you try other ones to make sure it’s safe, and check the soaking and sprouting times. Then it’s fun to experiment!
How to do it?
You will need:
sprouting seeds
a glass jar
an elastic band
something to cover the top that will let the sprouts drain well (we like to use anti-mosquito netting that is used in window frames)
a bowl to prop up the jar at an angle and catch the excess water
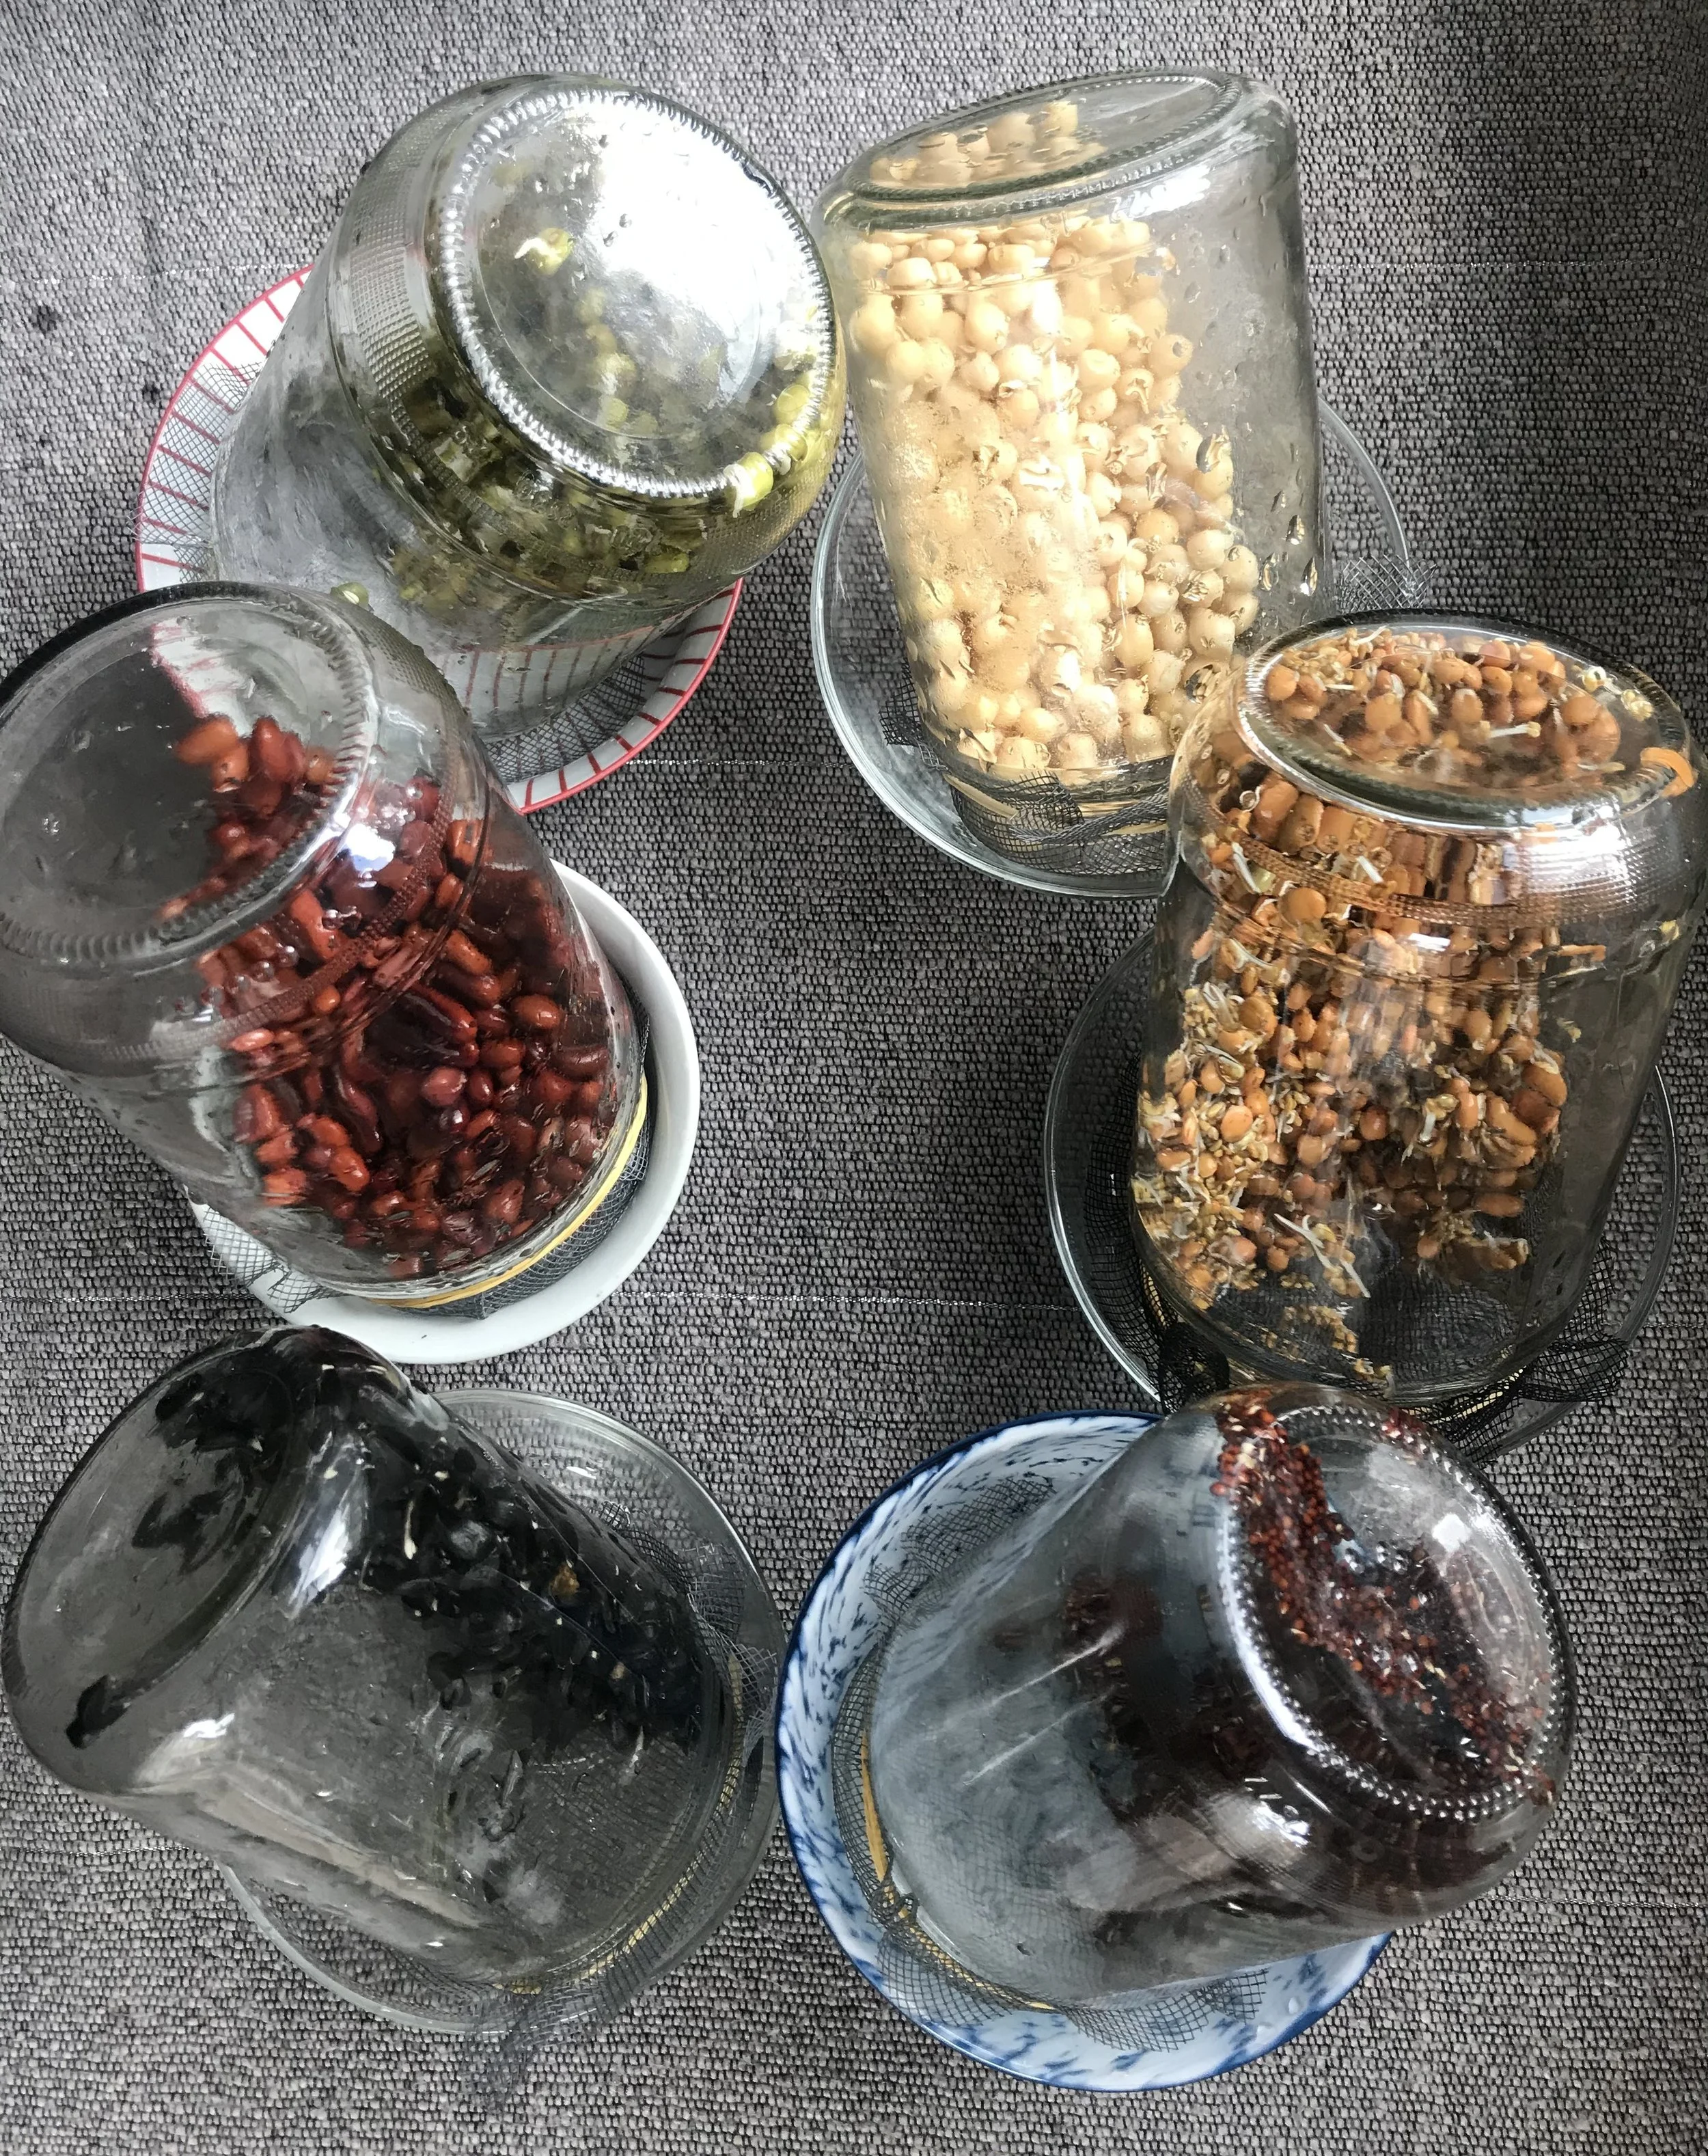
Steps:
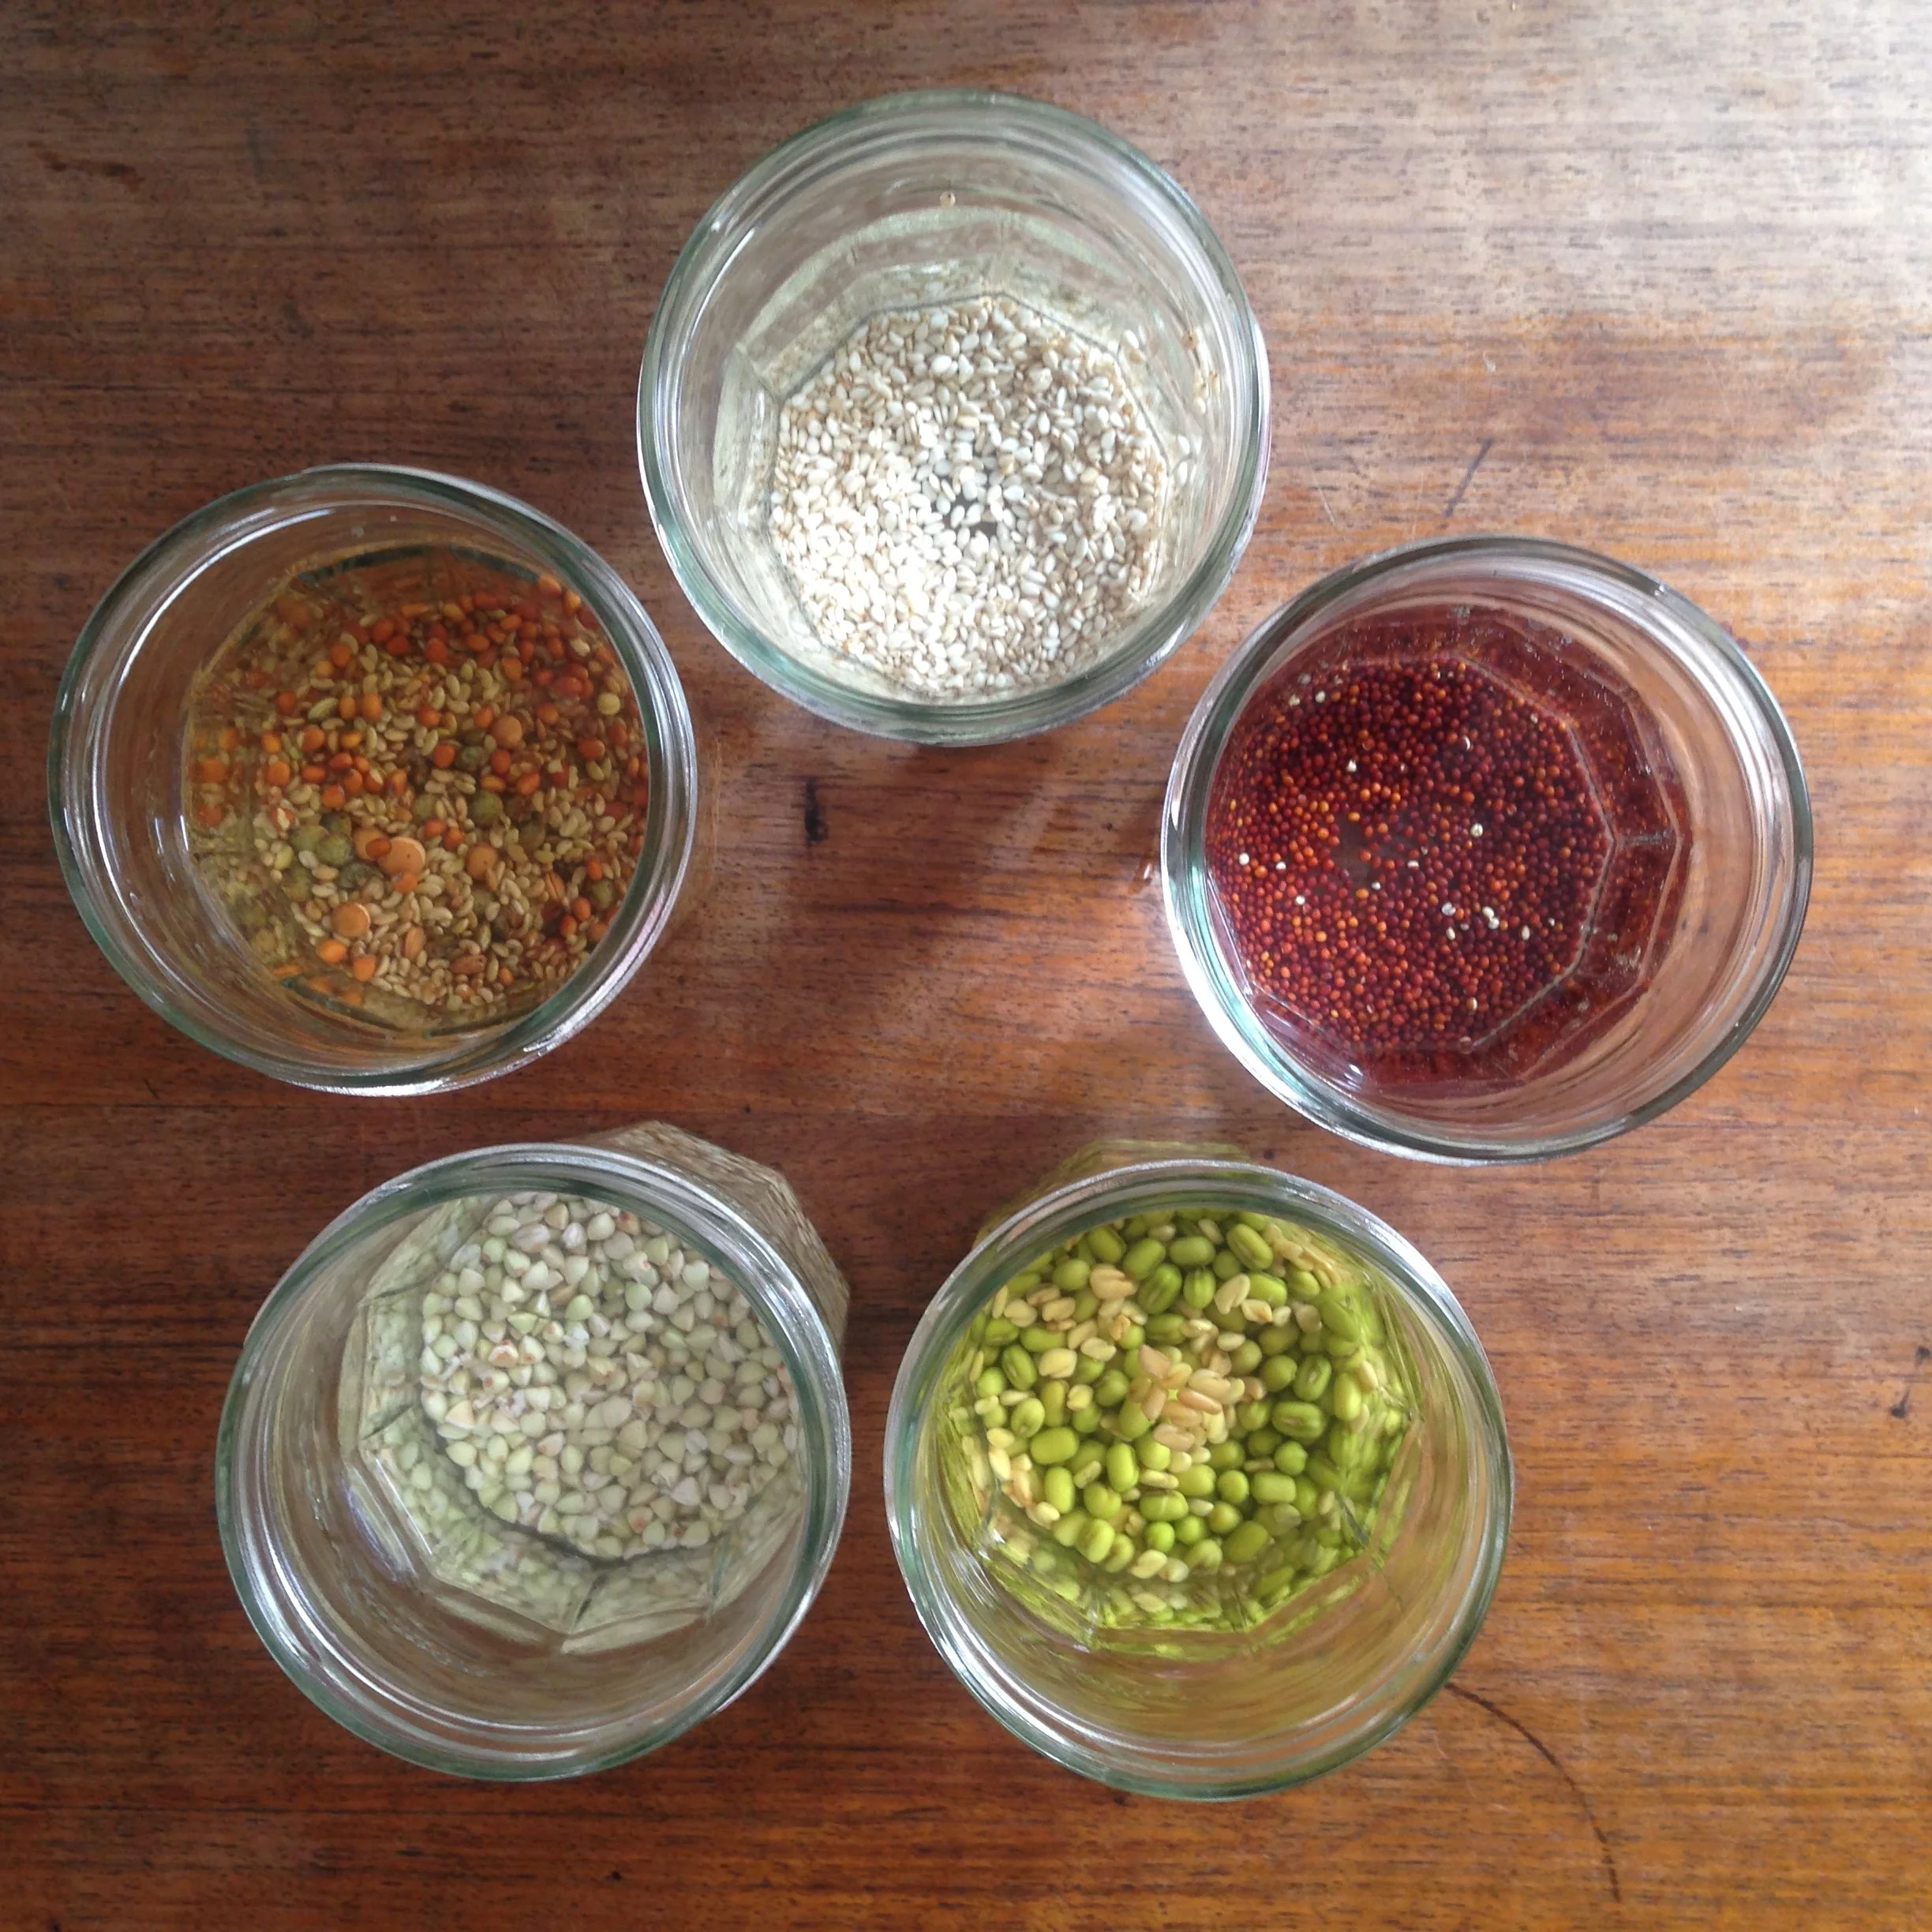
1. Cover the base of your jar with seeds and add just a little more
2. Add ample water to cover the seeds, and leave overnight to soak
3. The next day, add the netting and elastic band and rinse the seeds well*
4. Prop the jar up at 45-degree angle for water to drain
5. Rinse at least 2x per day
The seeds will germinate and start to grow. Keep them out of direct sunlight until your see the first leaves, and then you can put the jar in the windowsill to collect some extra vitamins through photosynthesis.
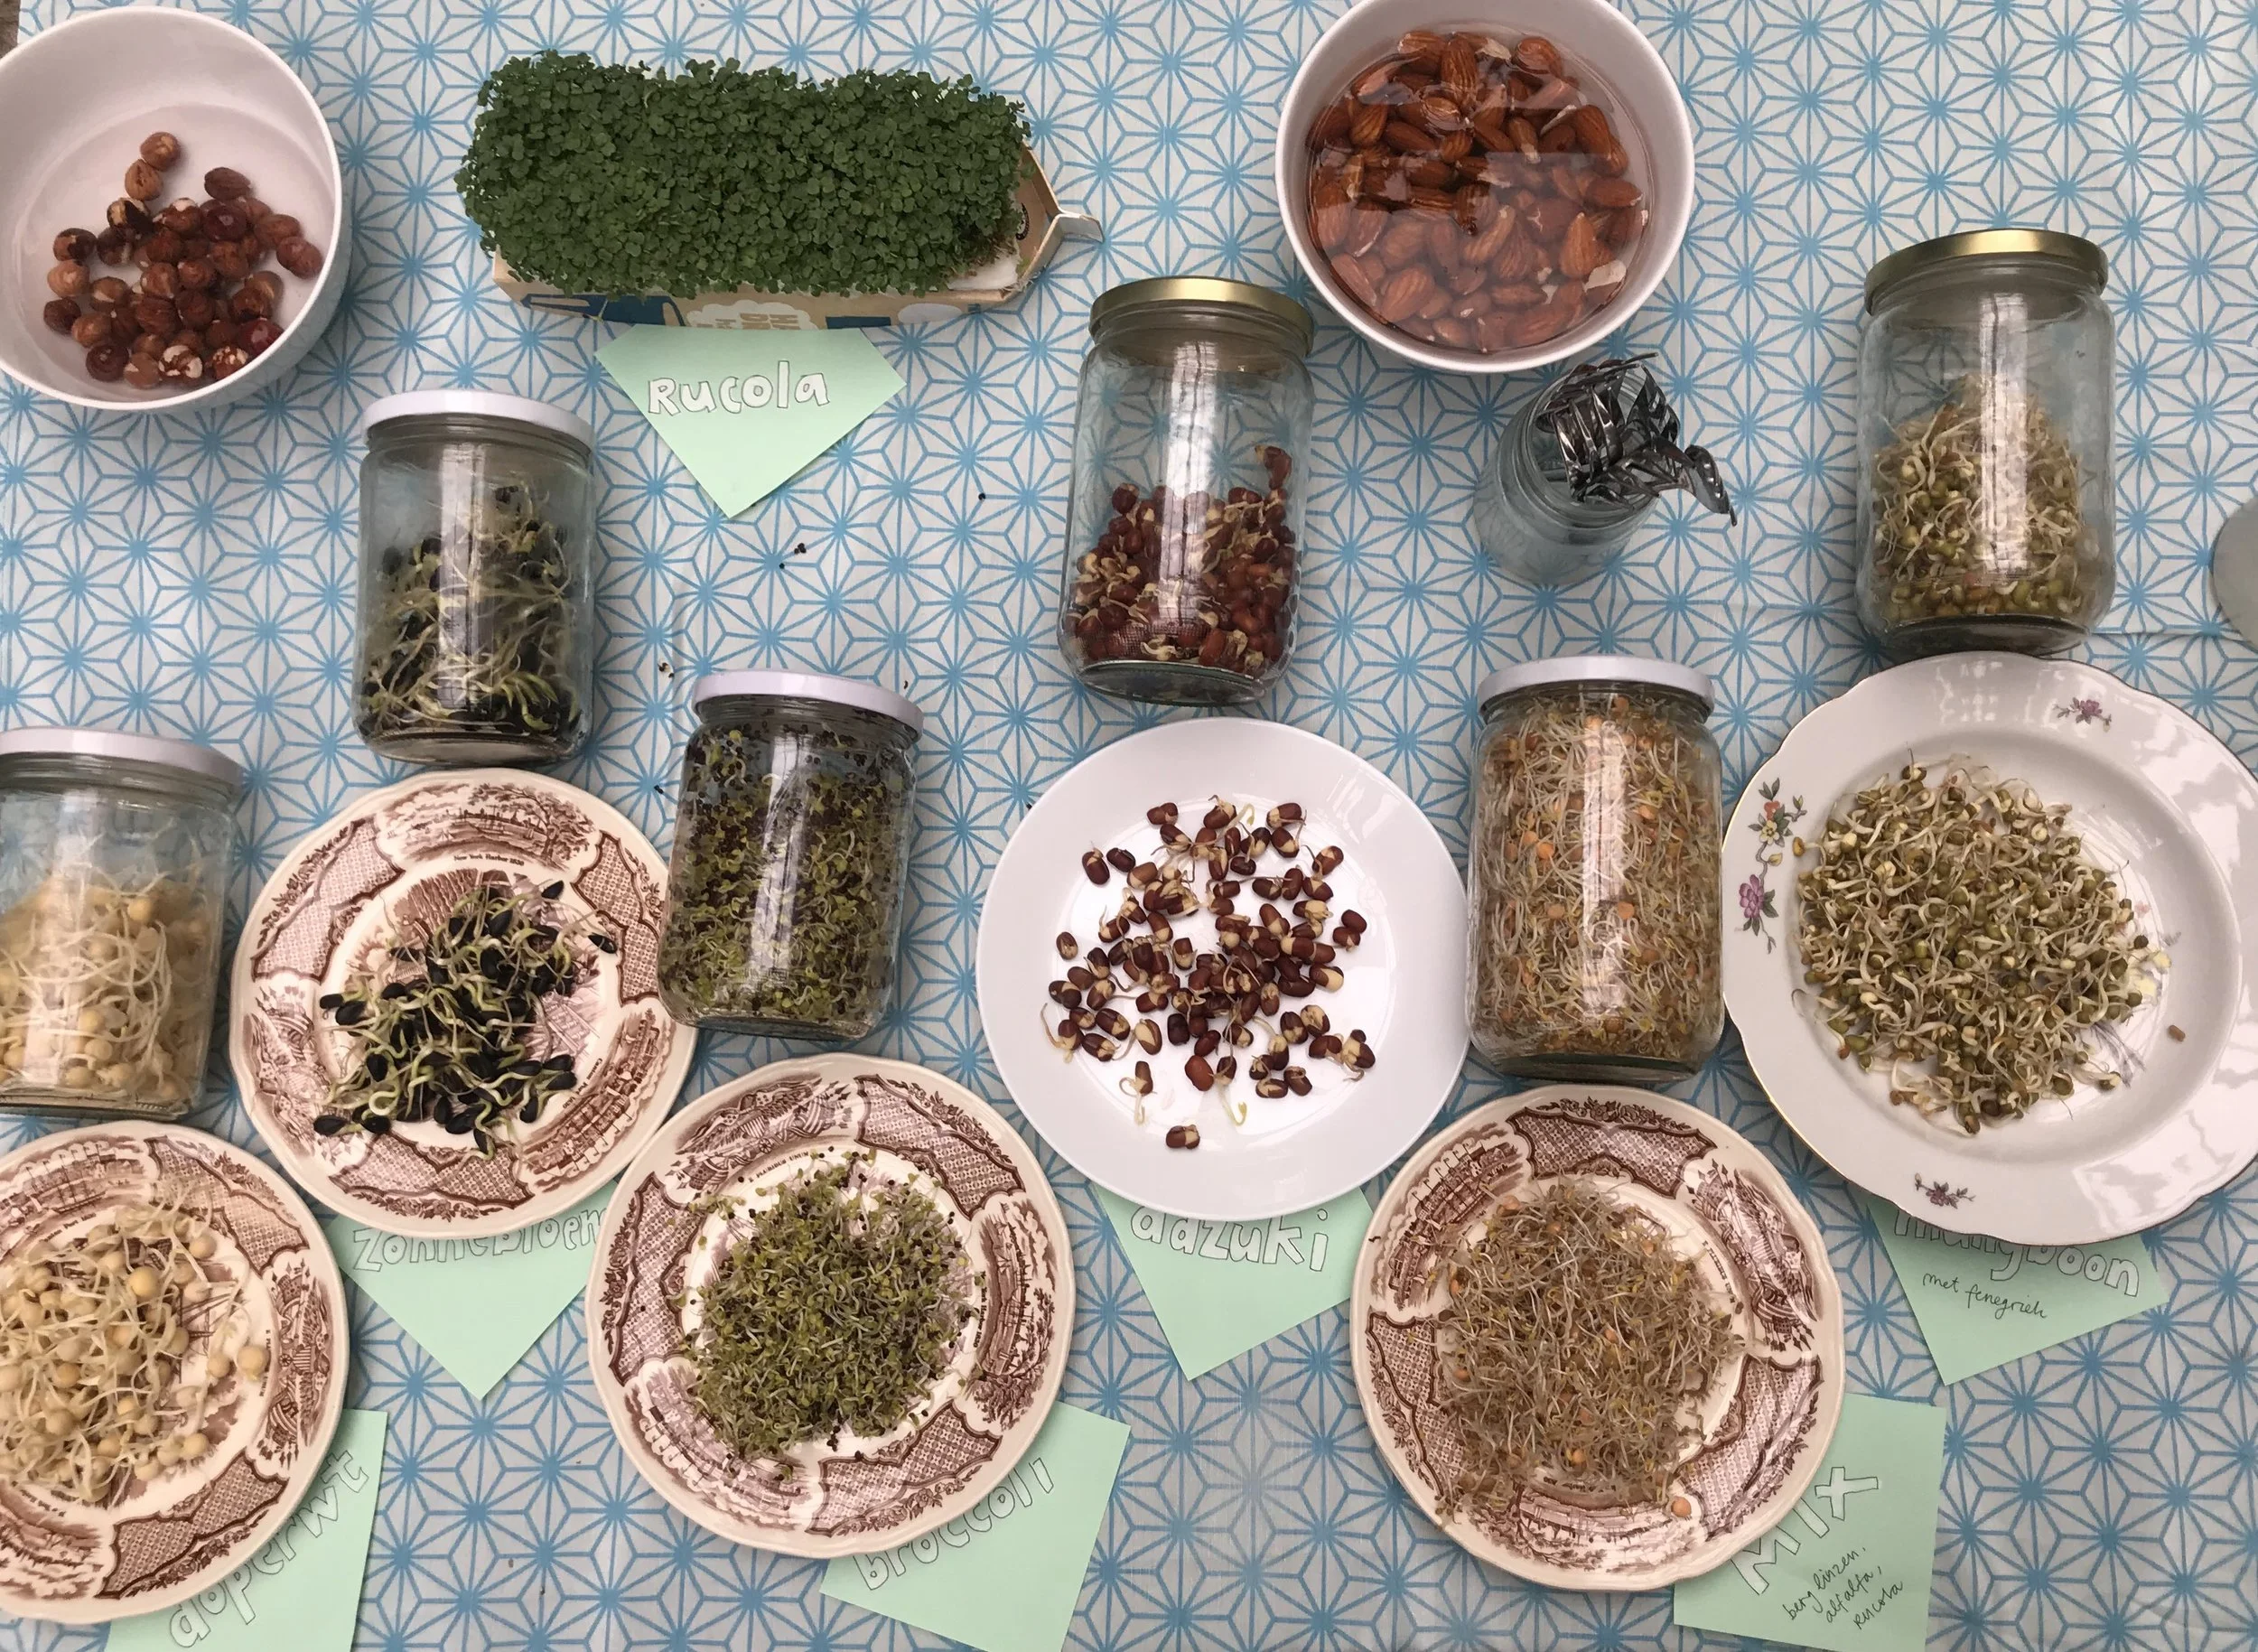
When ready and dry remove the netting, close the jar with its lid and keep refridgrerated, and eat while fresh! They will be tasty for a week or so.
*Tip: use the soaking water for your houseplants, it's full of nutrition!
MICROGREENS
Also microgreens can grow from organic supermarket sourced beans, peas or seeds. Most adults in Holland will know ‘tuinkers’ or cress, but no other ones used to be available. For an easy start we suggest peas, favas, or rucola.
How to do it?
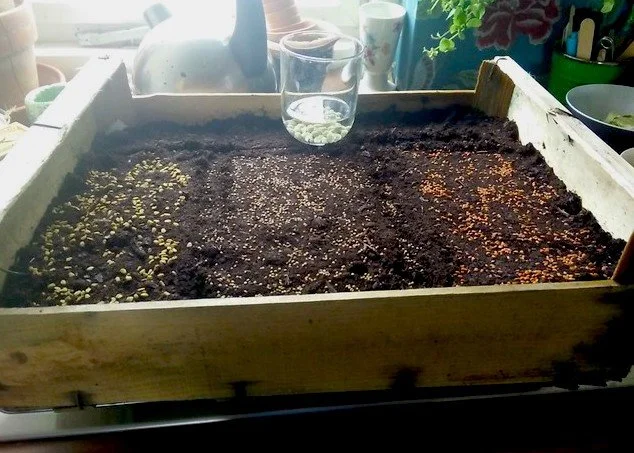
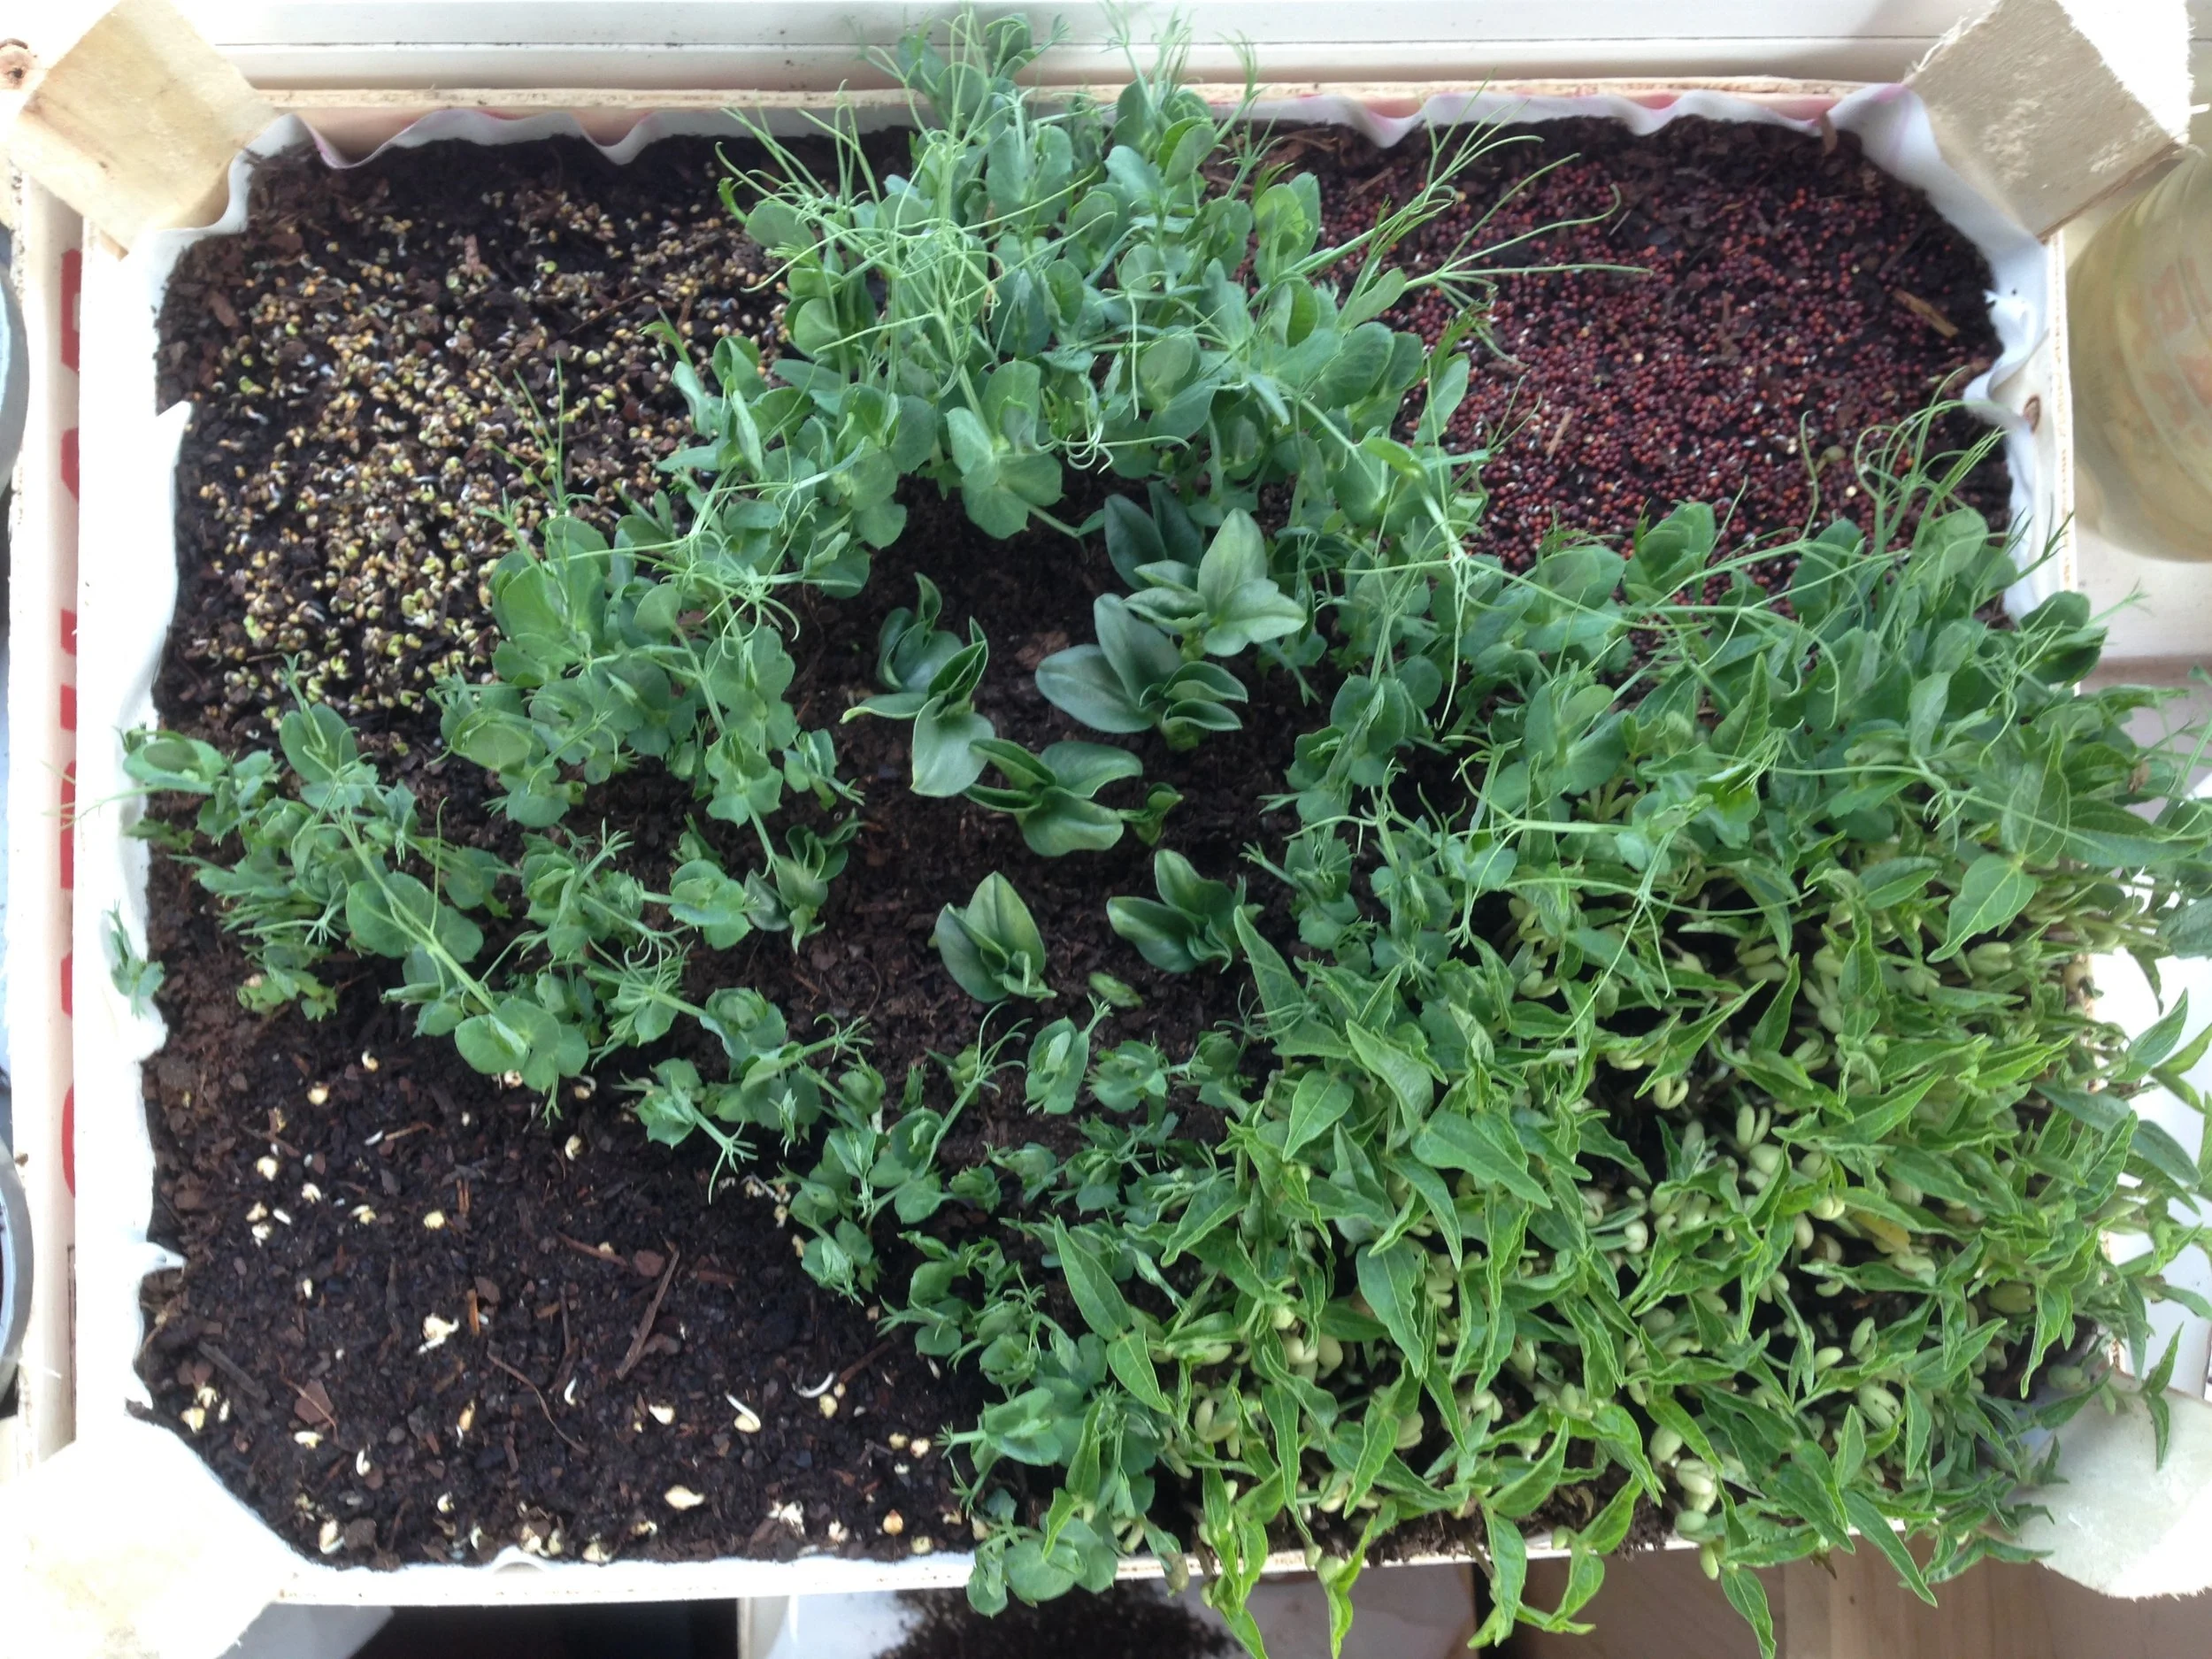
Whereas a jar that is rinsed regularly is enough for sprouts, microgreens take a bit longer and are usually grown in soil. They are harvested when the actual crop has already formed a little, so you can sow them really close together and make optimum use of your space.
You need:
your chosen beans/seeds
a shallow tray (3-4 cm soil is enough)
filled with soil
You can repurpose some used soil from balcony pots, mixed with a little compost as the seeds have enough nutrients on board to grow up to their first true leaves.
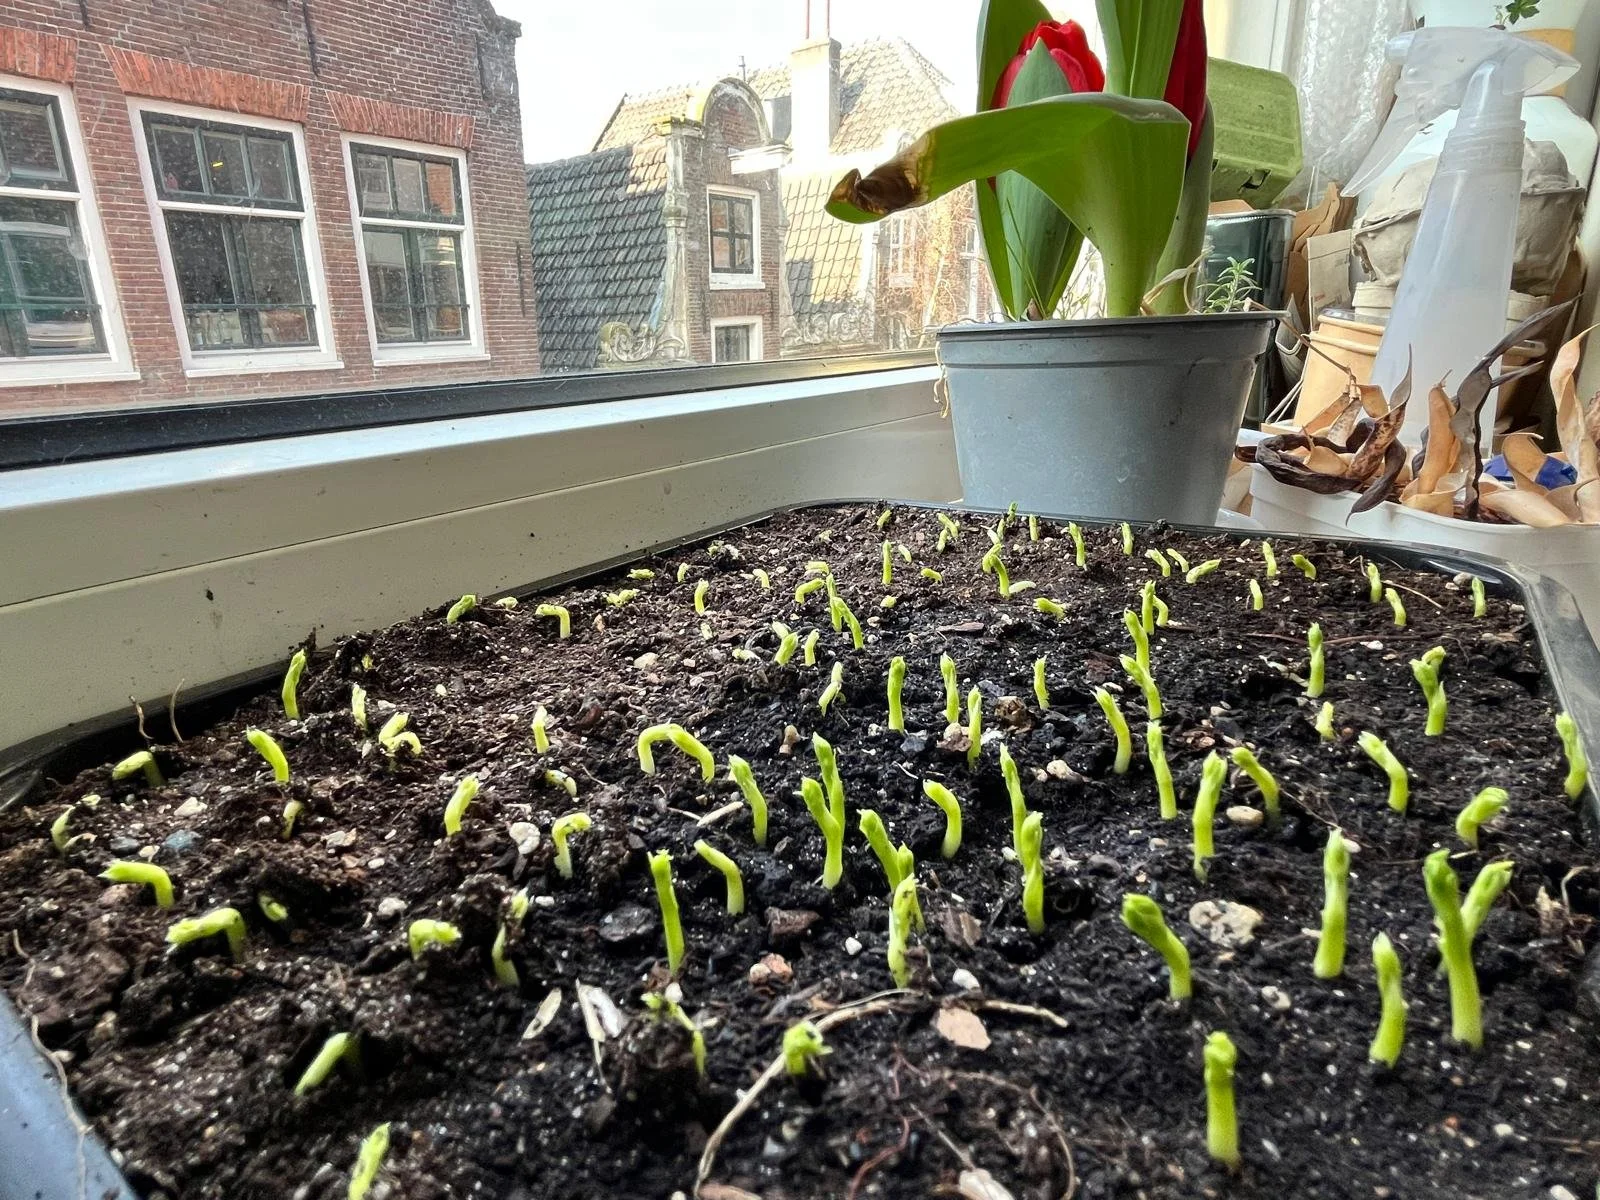
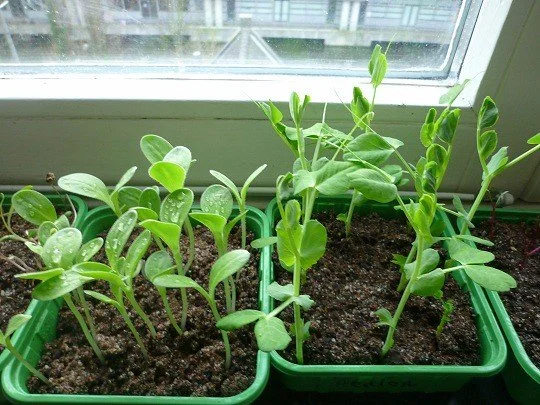
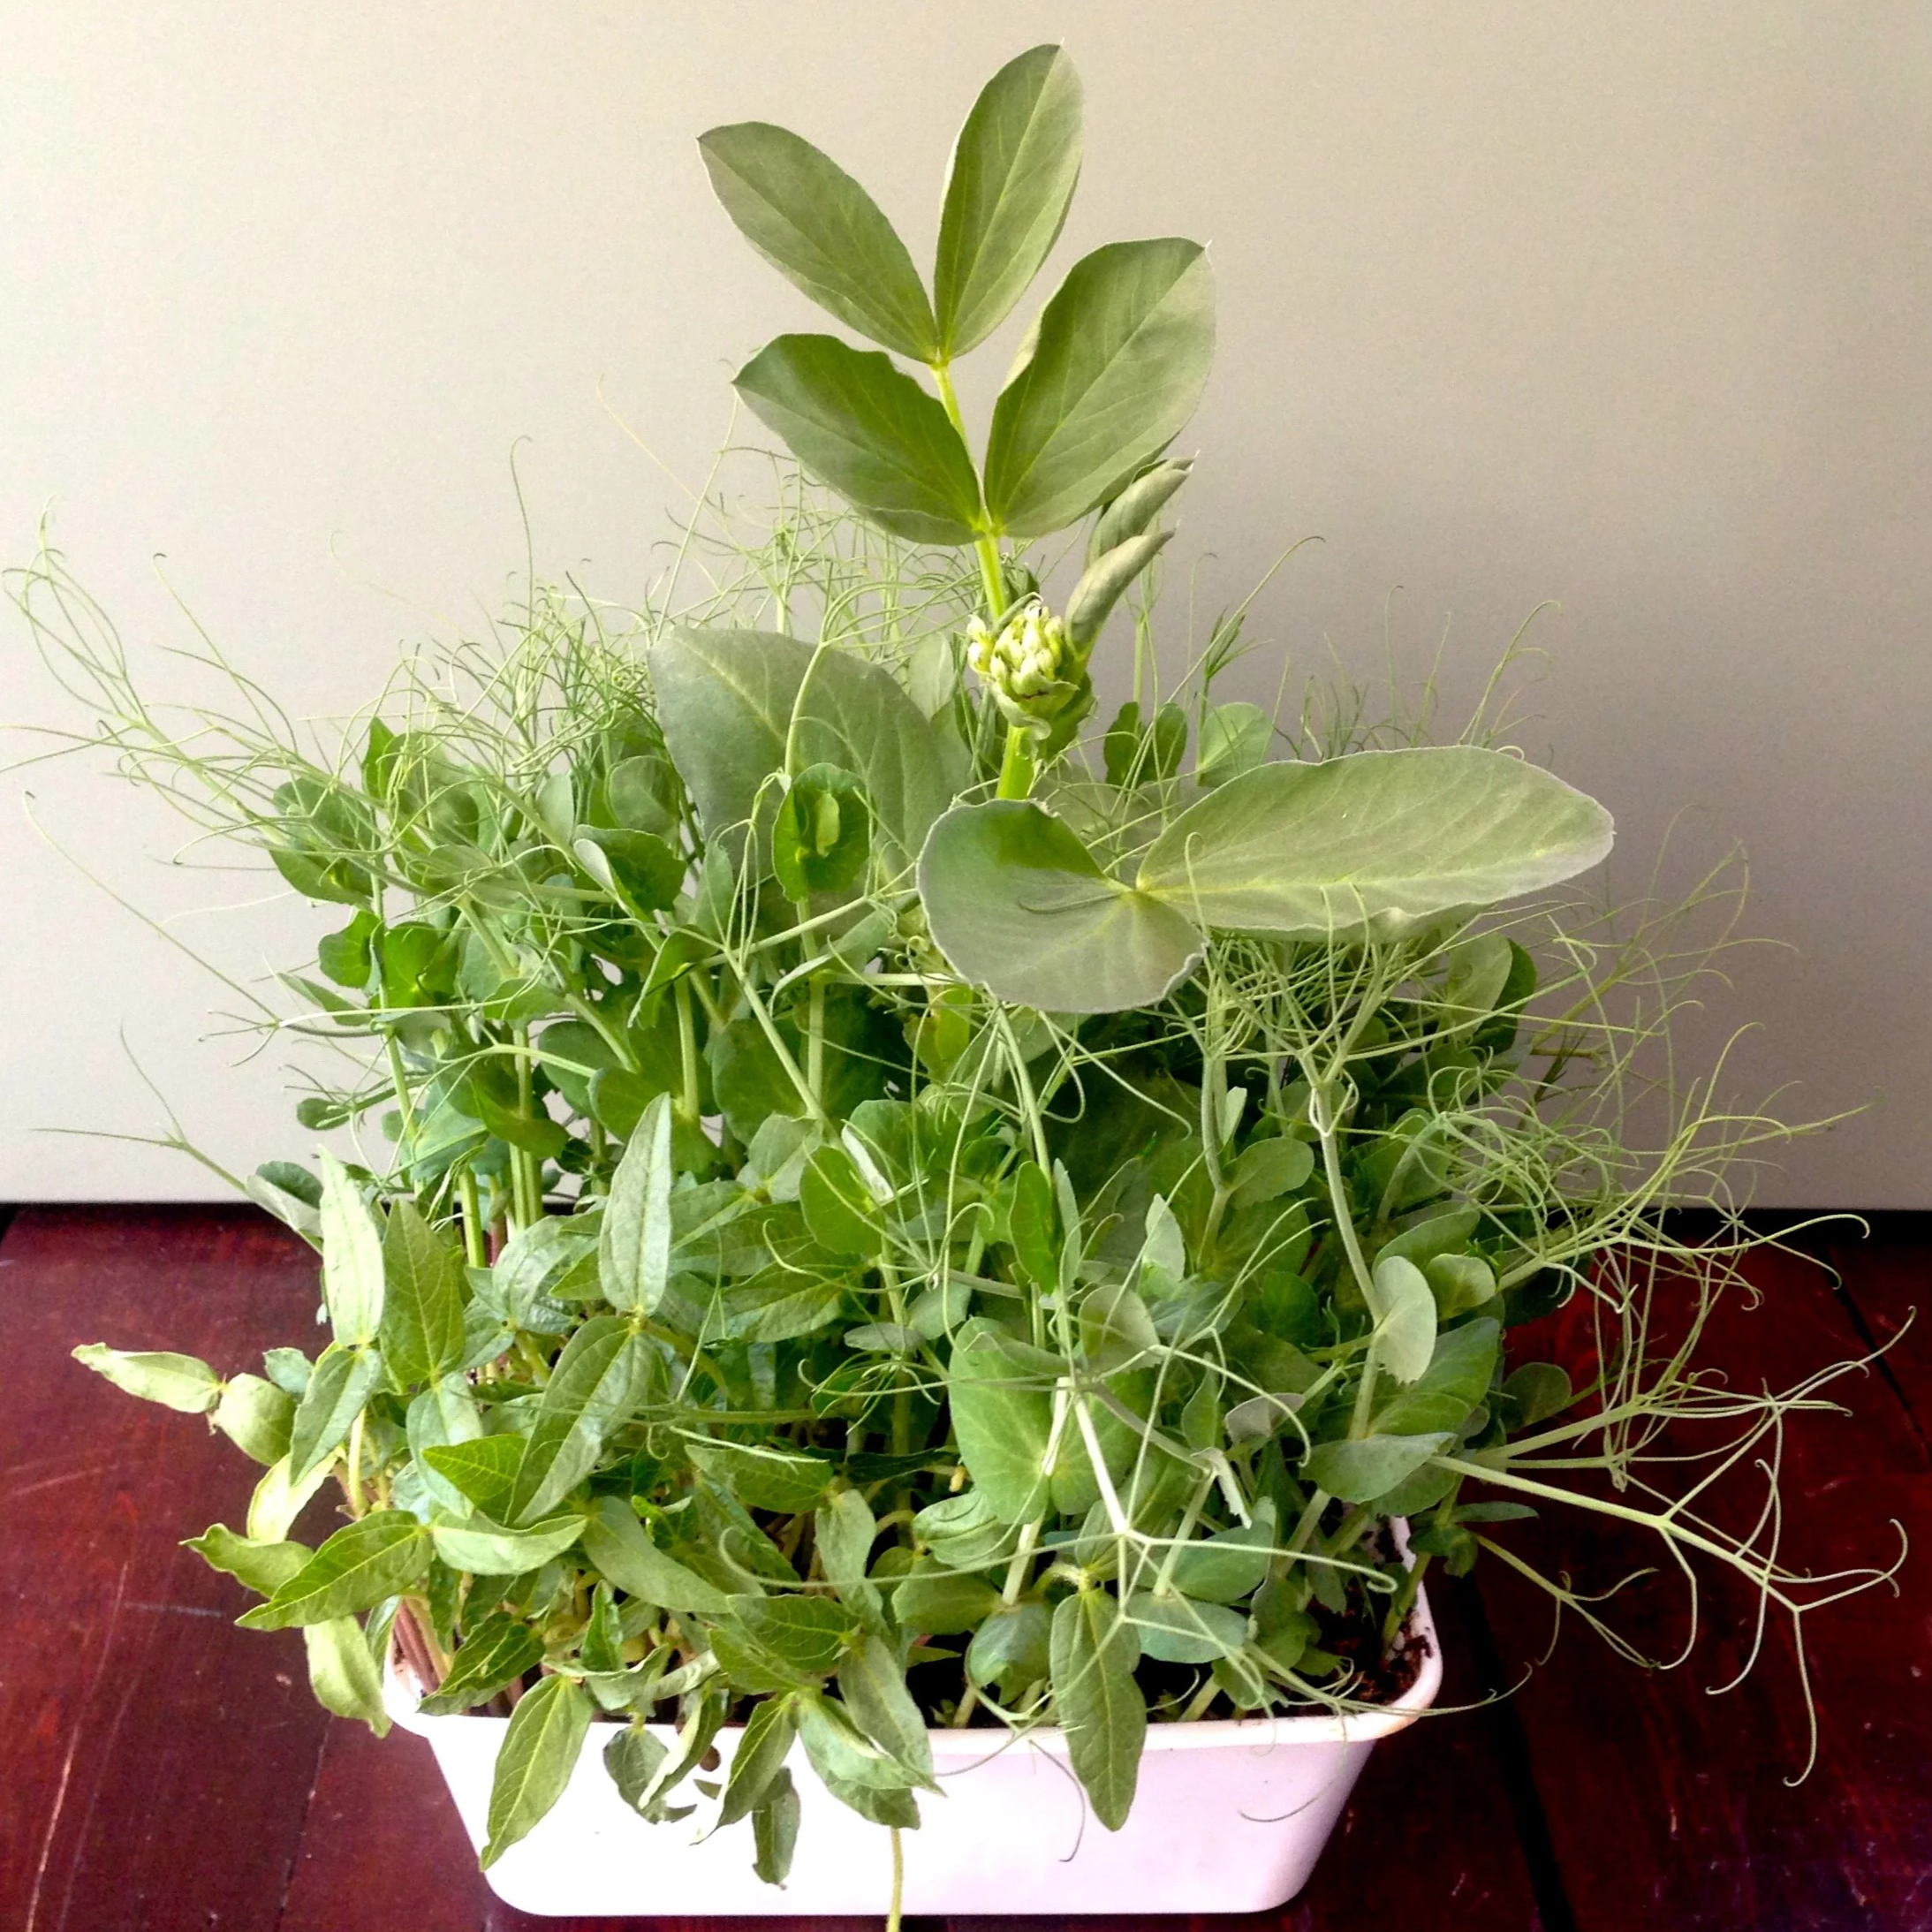
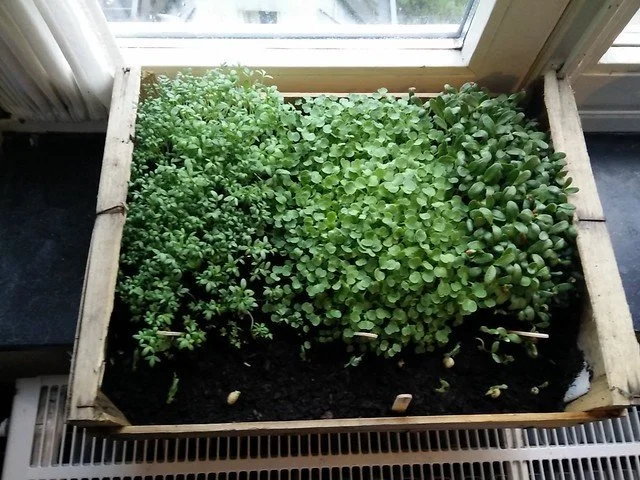
The growing can take place even in a tiny windowsill, but they do need some sun (6 hours per day is great). Beans are great for this, for example peas to grow peashoots. Theyse are really juicy and sweet. Since you harvest them a little bigger, you can use them as a garnish that will make a simple dish look like haute cuisine!

Steps:
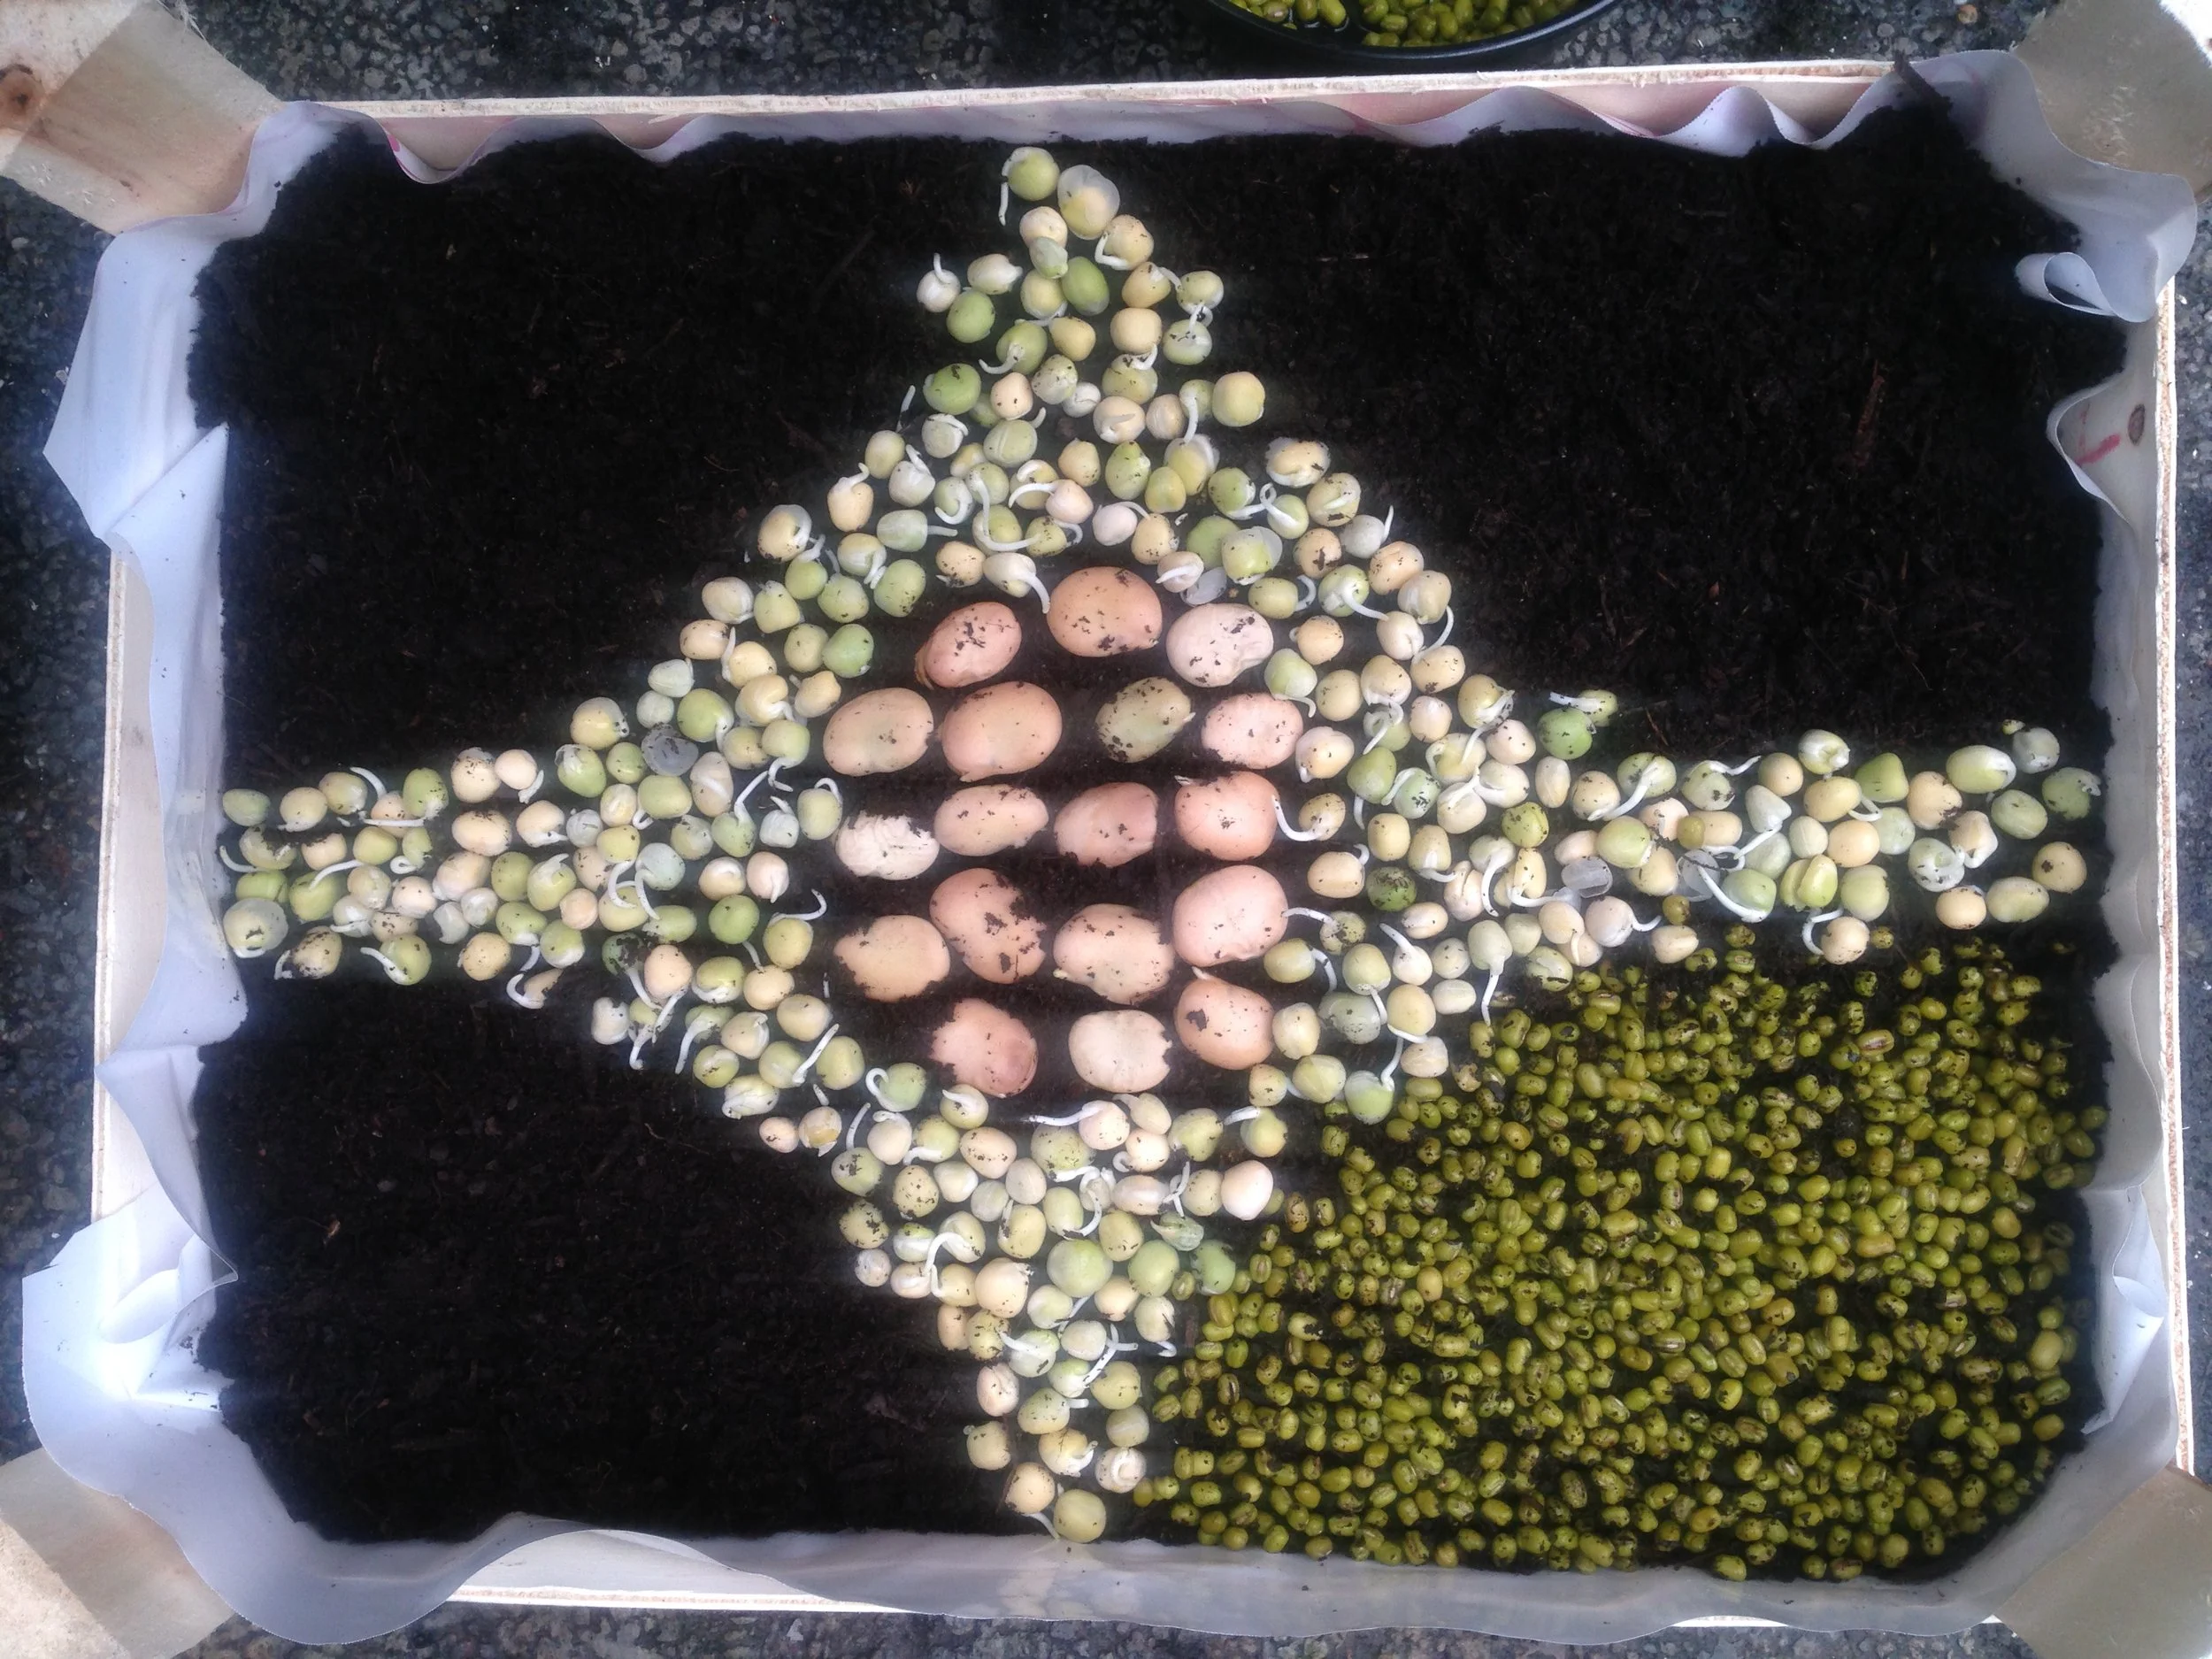
1. Soak the beans/seeds overnight
2. Sow your beans or seeds about two times as deep as their size.
3. Pat the soil down so the seeds are touching the soil all around.
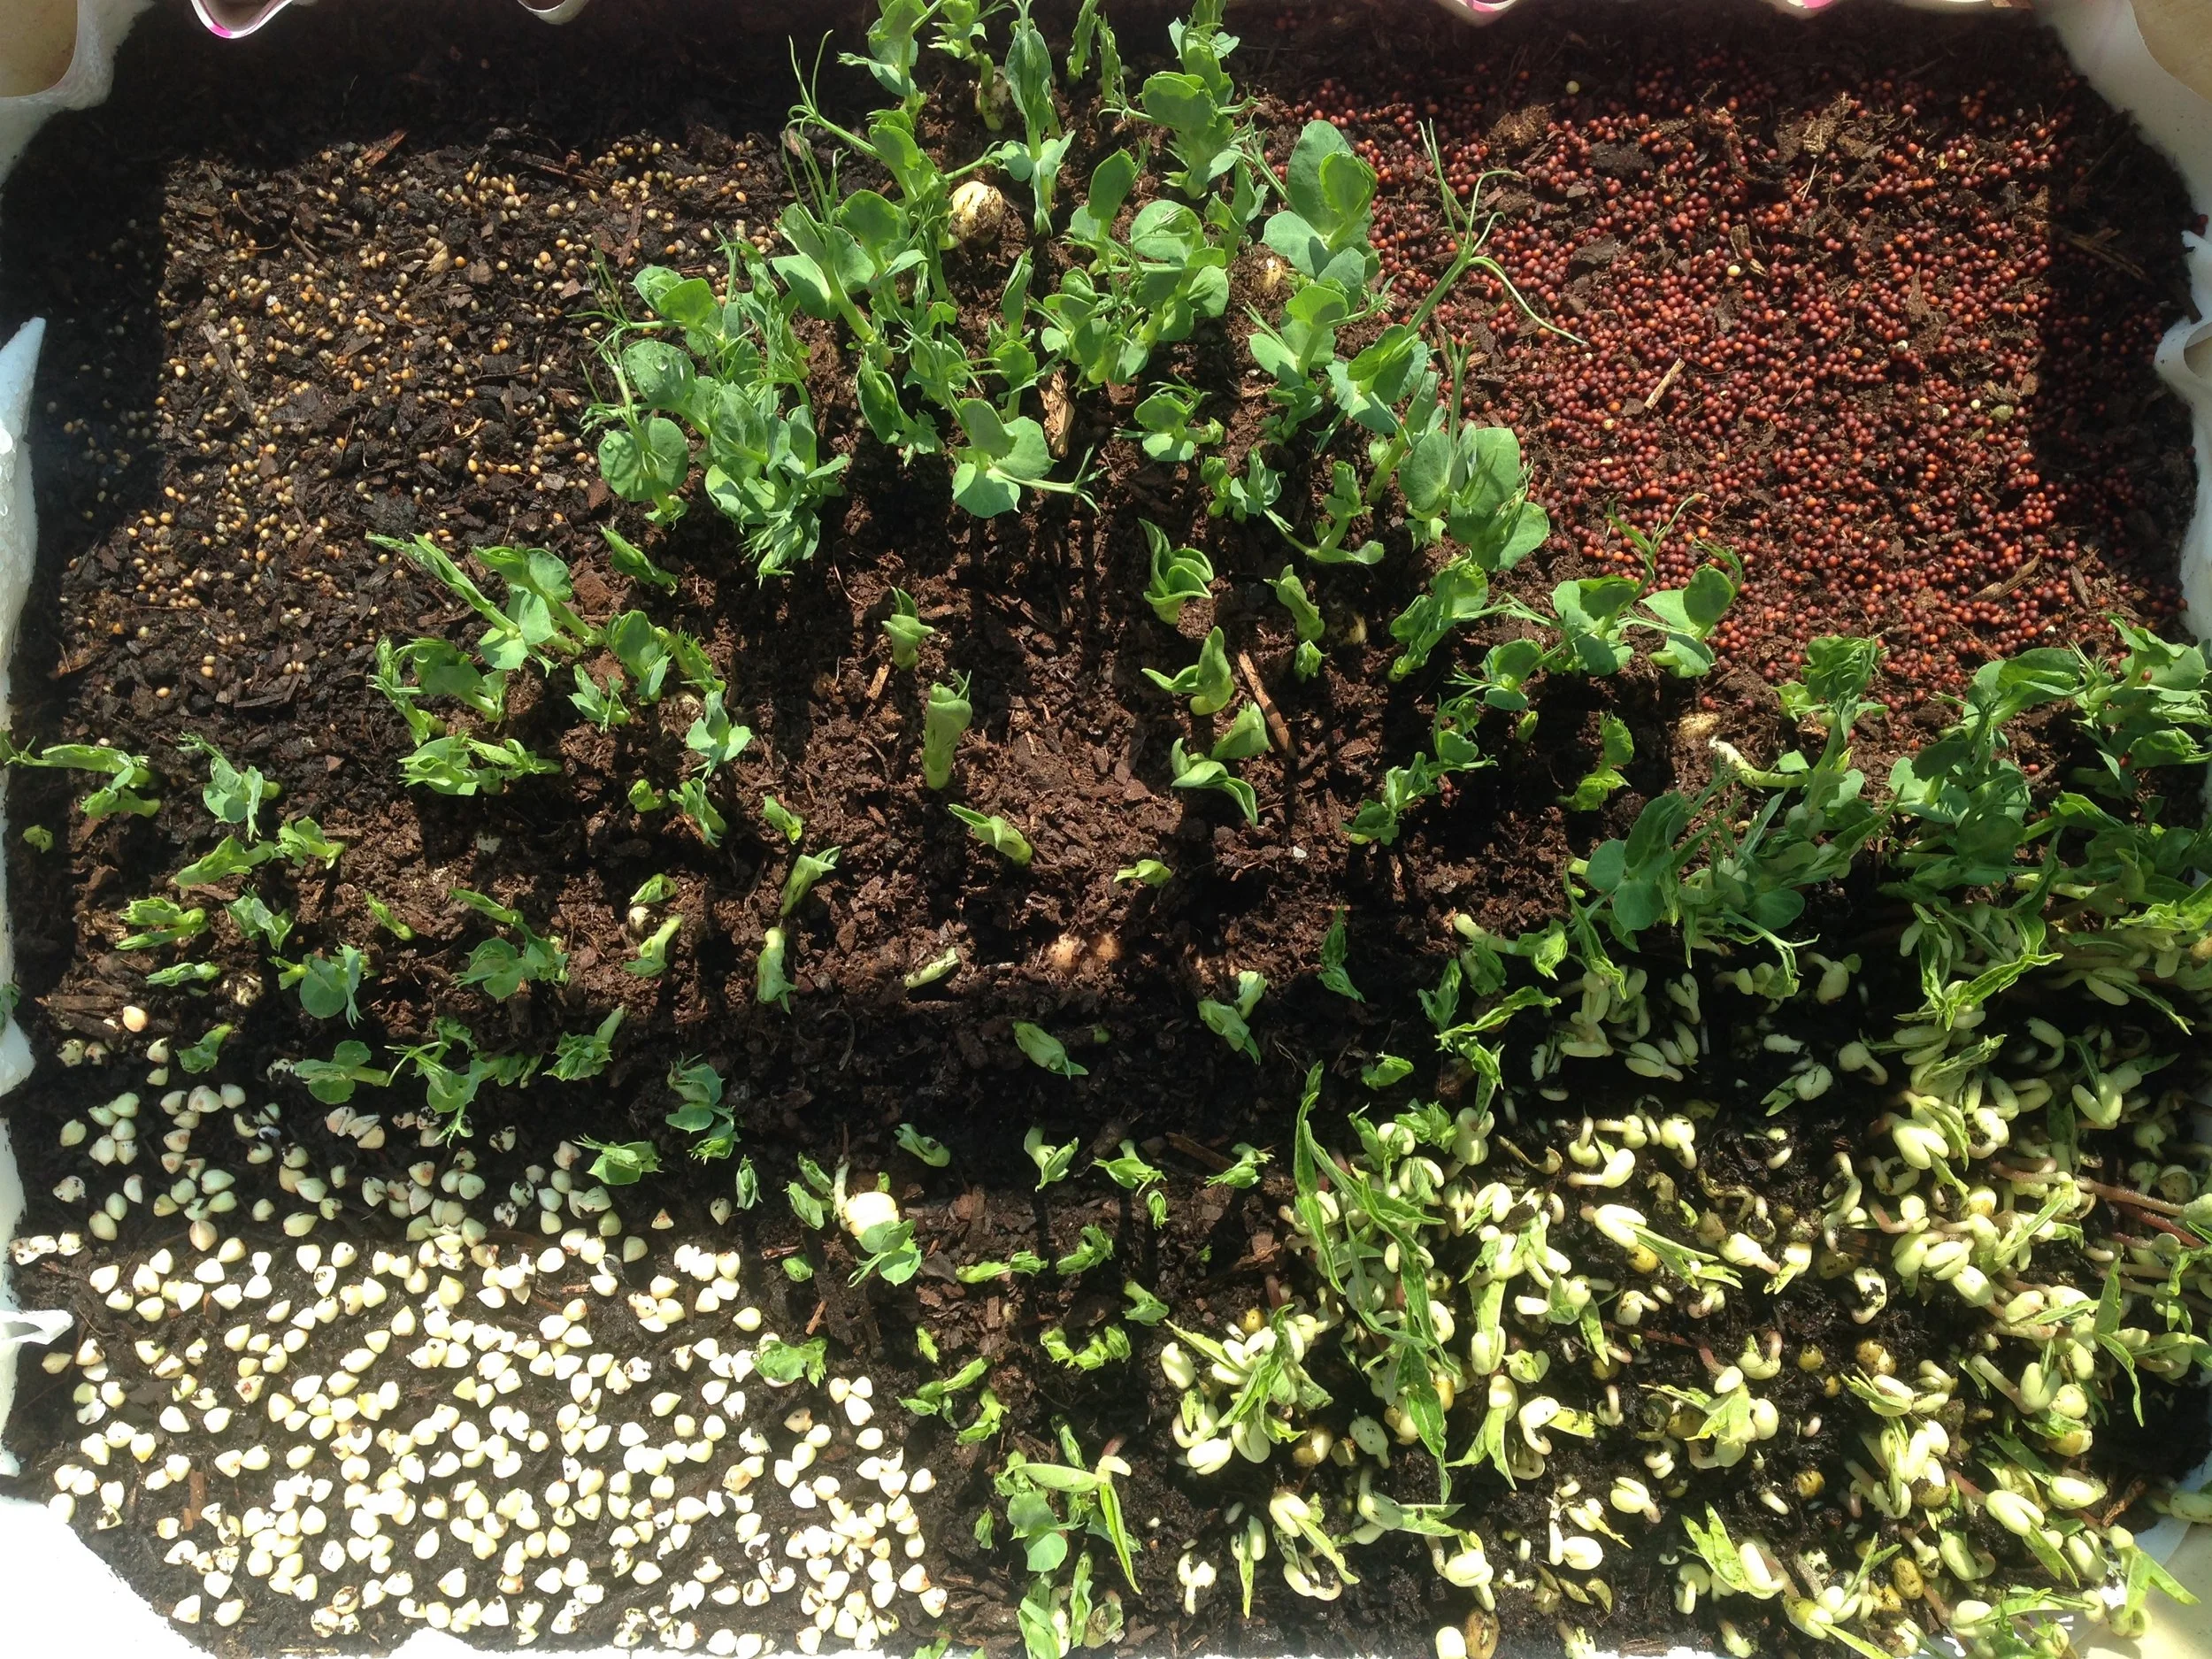
4. Water a little; after being soaked they have plenty water for the first days, beans can rot when too wet
5. After 10-14 days your microgreens are ready to harvest

You can also apply the principle of microgreens in your regular garden. For example when you seed carrots, it often happens that too many seeds sprout, which means there is not enough space for all the carrots to grow up to their full size. Instead of “thinning” them in an early stage, to ensure there is enough space for the ones that remain to grow big, you can wait until they have grown a little and then harvest the tiny baby carrots as microgreens. You can even do it several times, every time when it gets too crowded, you harvest some of the smallest ones again.
Have fun with the baby bean plants!
Would you like to follow an in person or online workshop with us?
Please check out your preferred location at the top of the page and find your way to the workshops pages.
Or mail us at info@cityplot.org

Rosa van Giessen, Edible garden and foodforest designer, educator

Eva Thomassen, Gardener, Kids & GDGD teacher, designer

Ann Doherty, City coordinator, GDGD teacher, former Pluk! CSA farmer